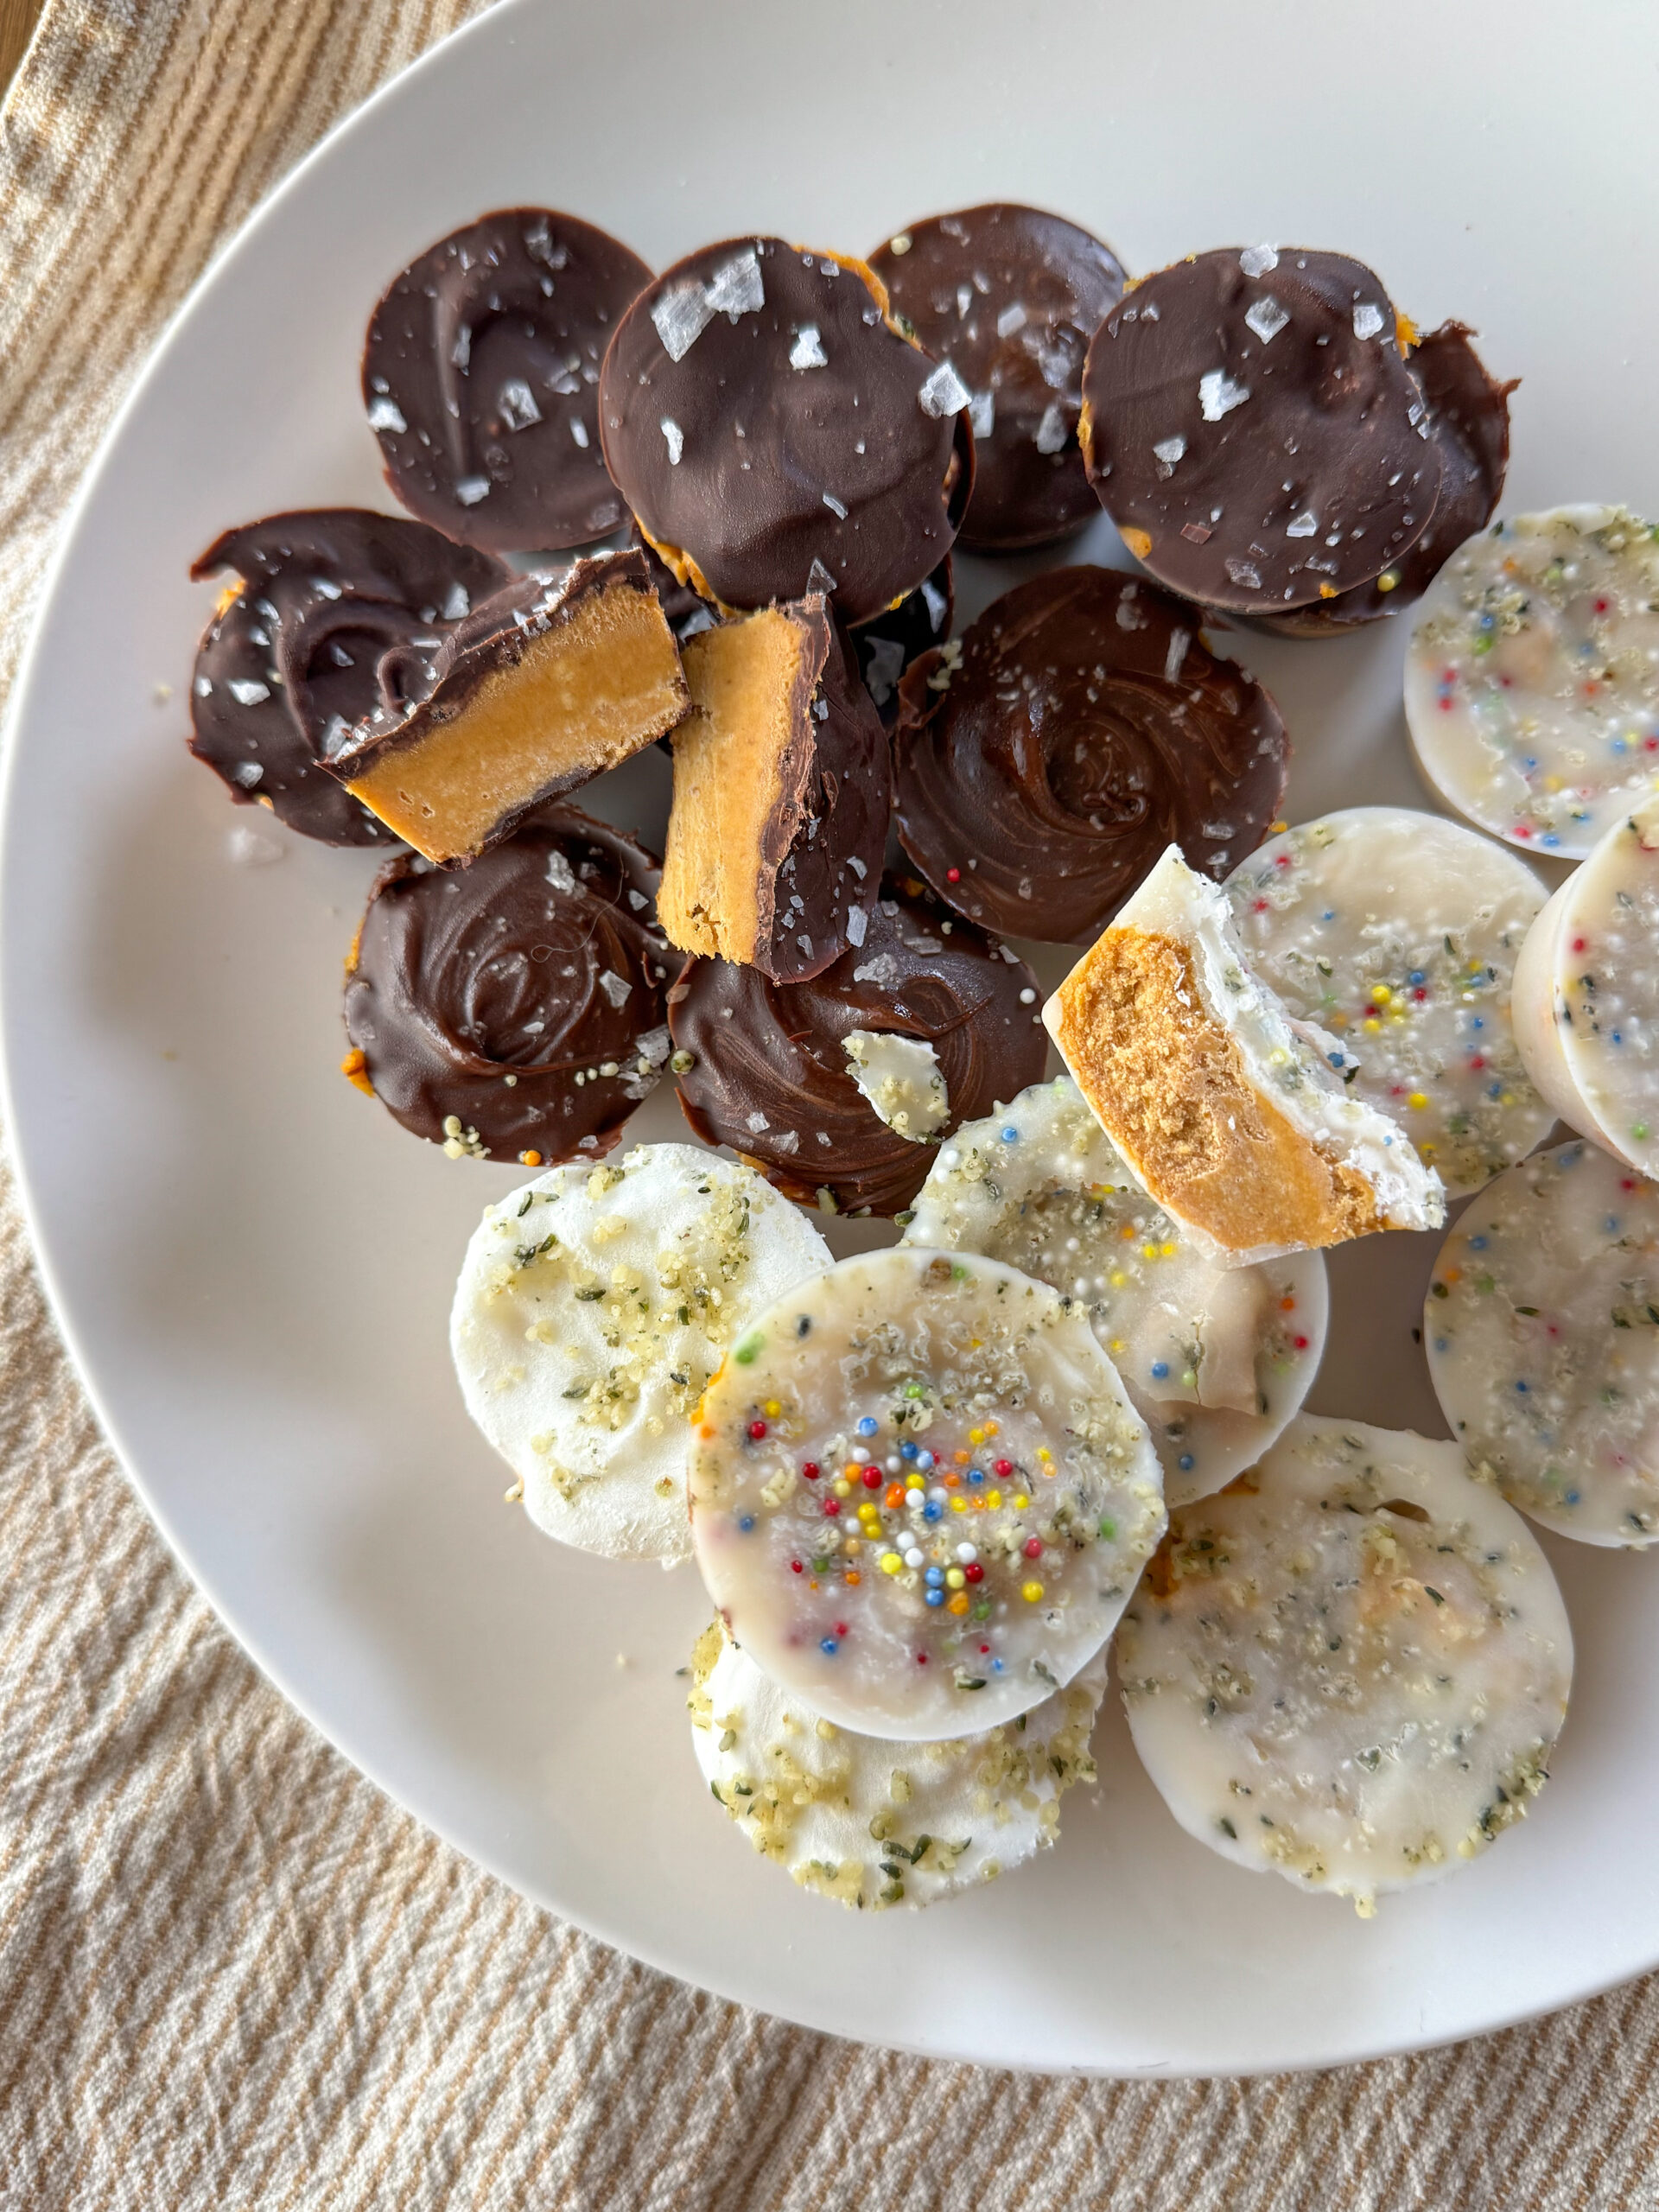
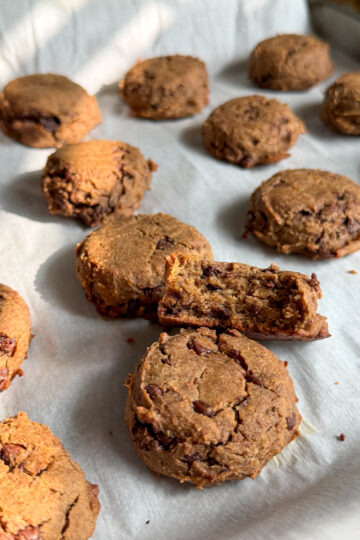
These Pumpkin Peanut Butter Chocolate Cups are a healthy, fall-inspired twist on classic peanut butter cups! Made with real pumpkin purée, chocolate or coconut butter, and creamy peanut butter. They’re gluten free, dairy free, and the perfect quick treat for both moms and kids. Literally the whole fam is going to love these and they are SO easy to make!
Why You and Your Little Ones Will Love These Pumpkin Peanut Butter Cups
- less sugar, same treat feel: lightly sweetened with maple syrup instead of refined sugar, or skip the maple syrup and use coconut butter or yogurt instead of chocolate for a no added sugar option
- dairy & gluten free: allergy-friendly if needed
- healthy fats for energy + satiation: peanut butter and coconut oil make them satisfying and blood-sugar friendly
- toddler & baby-approved: easy to hold, great for teething (can even stick a popsicle stick in for holding), and freezer-friendly for a fun little snack
- mom-approved sweet snack: perfect sweet treat that isn't packed with added sugar, and one that actually has some protein + healthy fats
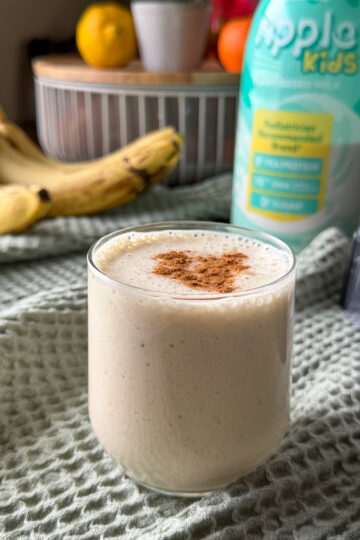
If your little one is into cold snacks, then I bet they'd also love my frozen yogurt bark, banana avocado popsicles, and strawberry chia popsicles!
Jump to:
- Why You and Your Little Ones Will Love These Pumpkin Peanut Butter Cups
- Ingredients You'll Need
- How To Make Your Pumpkin Peanut Butter Cups
- Hint For Peanut Butter Cups
- Substitutions
- Variations
- Equipment
- Storing Your Pumpkin Peanut Butter Cups
- Tiff's Dietitian Tip
- FAQ
- Related
- Pairing
- Pumpkin Peanut Butter Cups (low sugar, dairy free, 5 ingredients!)
Ingredients You'll Need
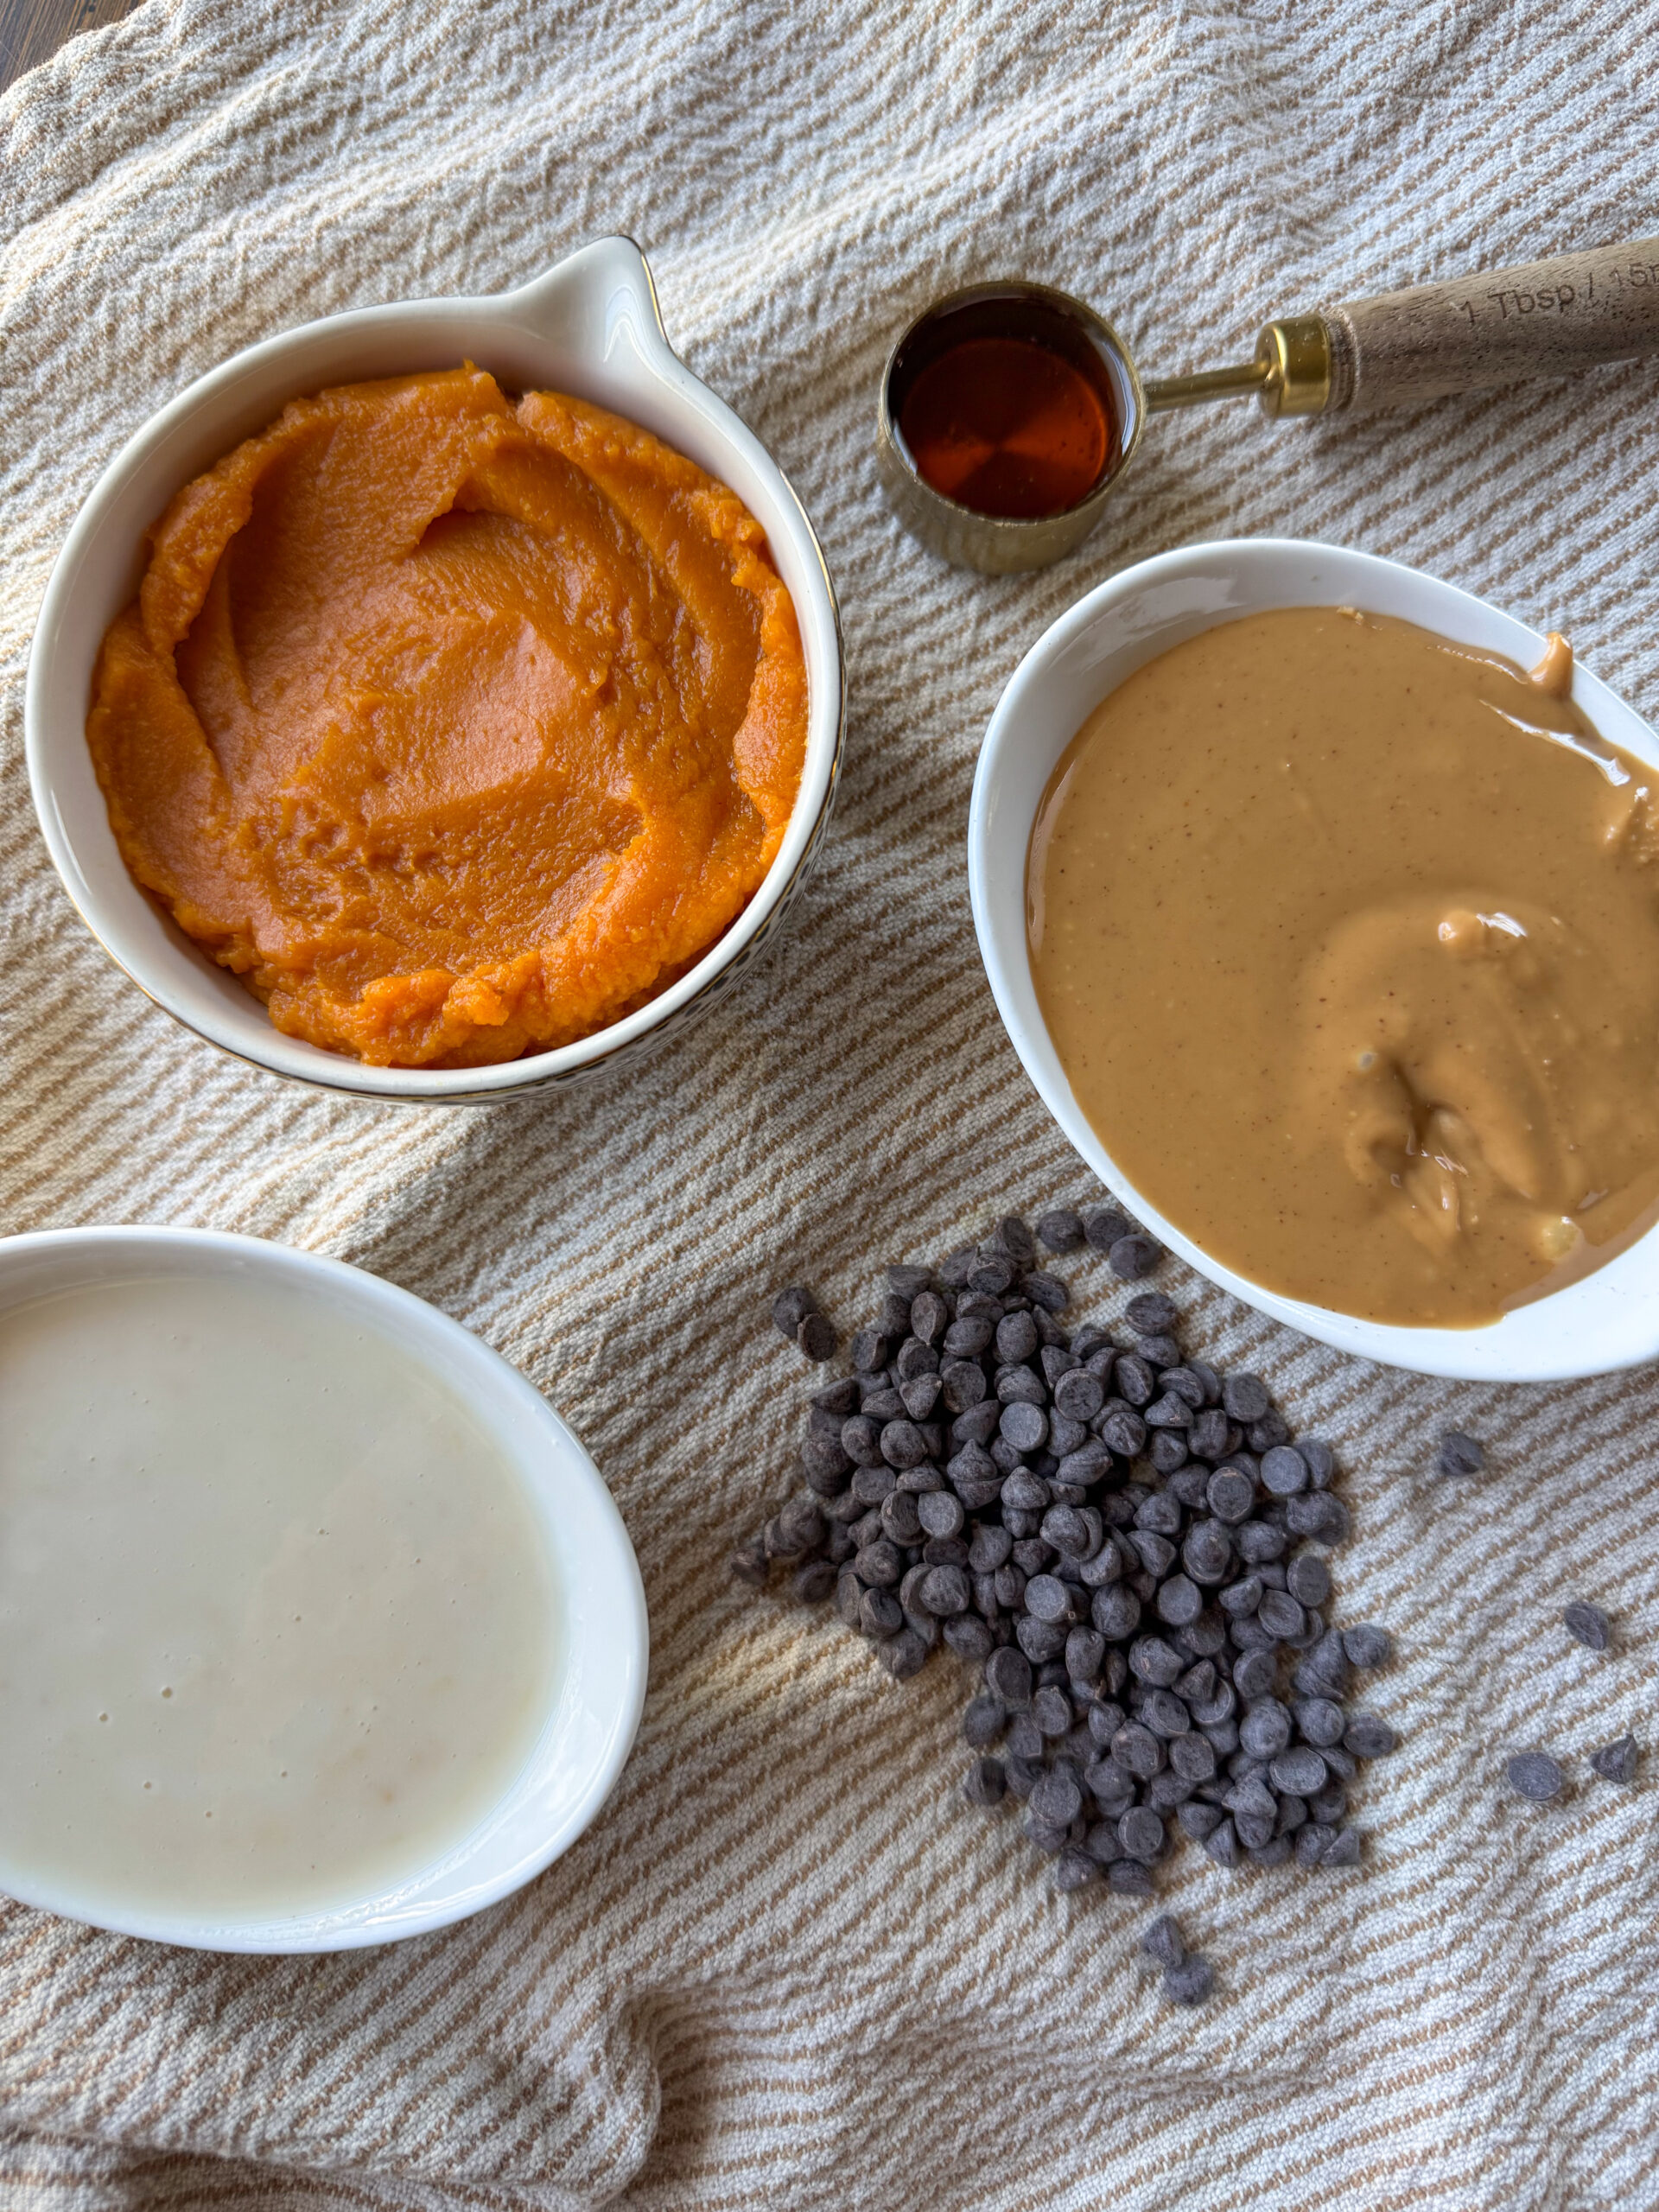
Here's what you'll need to make these pumpkin peanut butter cups:
for the chocolate or coconut butter layer
- chocolate chips or coconut butter: the base for your cups, choose dairy-free chocolate chips if needed
- coconut butter is if you want a no added sugar option for littles! or you can use yogurt
- coconut oil: helps the chocolate melt smoothly and gives that glossy, easy-to-bite texture when chilled
for the pumpkin peanut butter filling
- peanut butter: go for the drippy kind, it blends best and keeps the filling soft and creamy
- pumpkin purée: adds cozy fall flavor, fiber, and a boost of vitamin A (make sure it’s 100% pure pumpkin, not pie filling)
- maple syrup: a touch of natural sweetness that pairs perfectly with pumpkin and dark chocolate
- flaky salt: brings out the sweetness and adds that crave-worthy salty-sweet combo
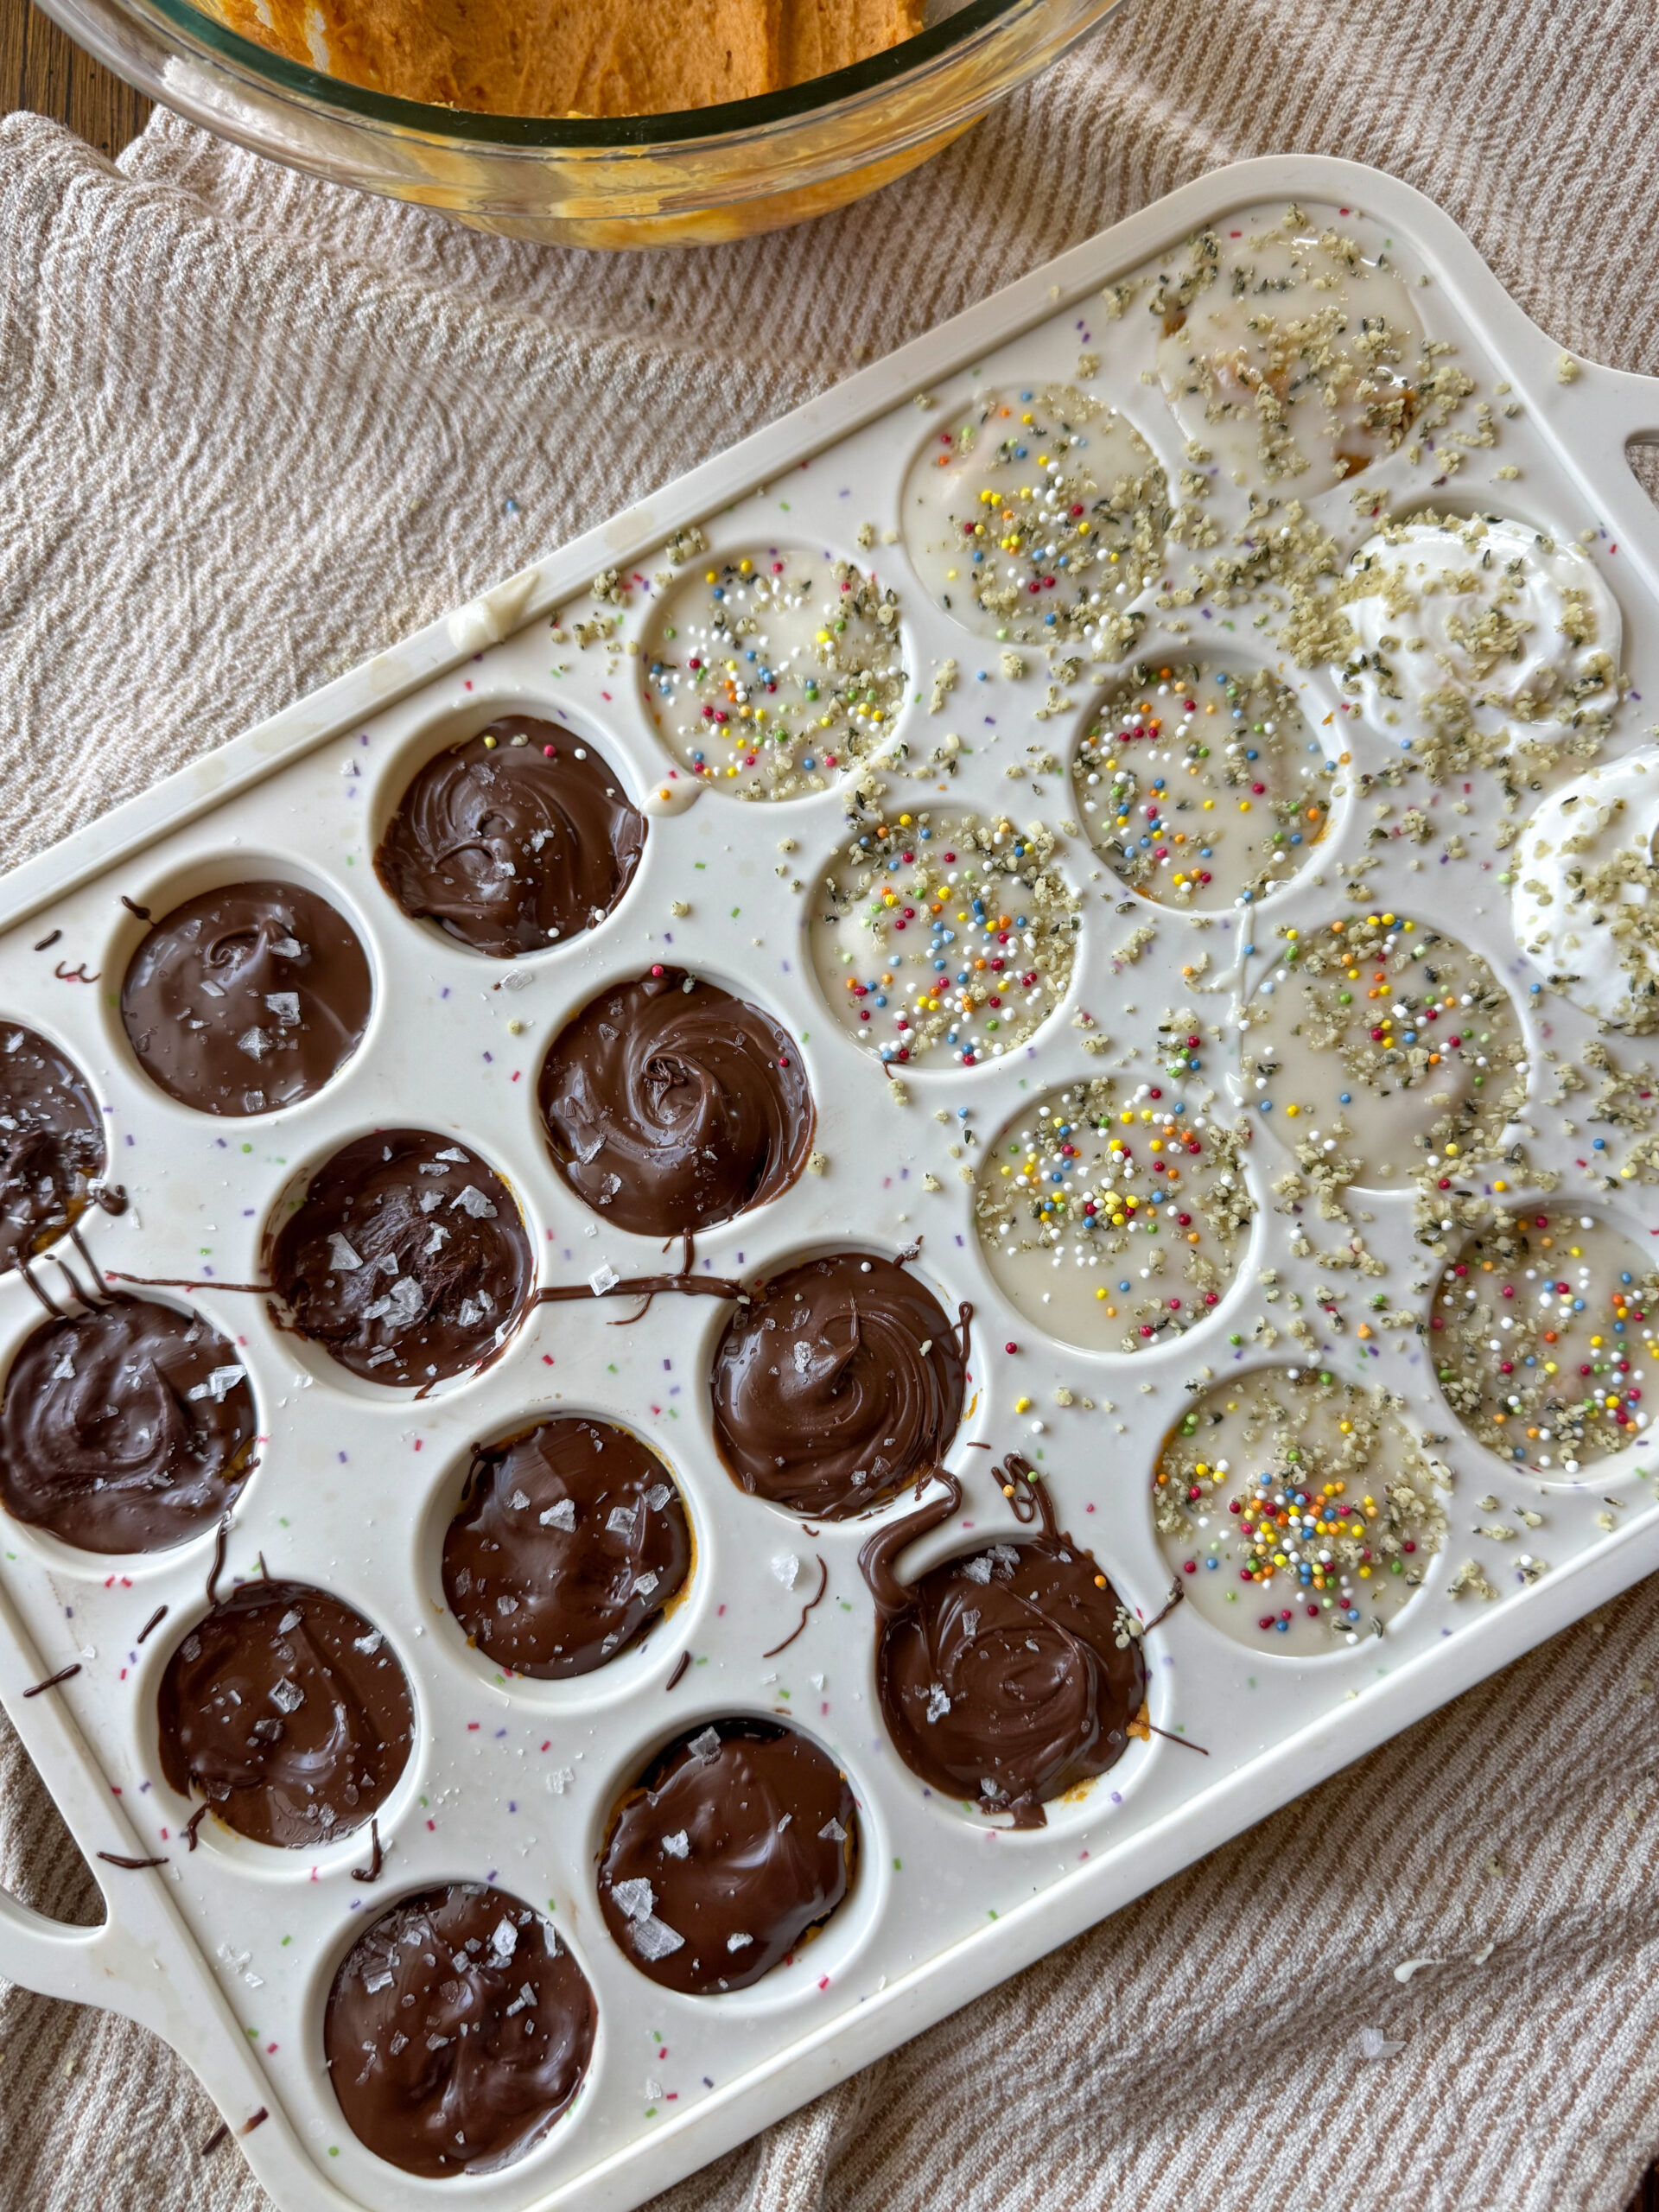
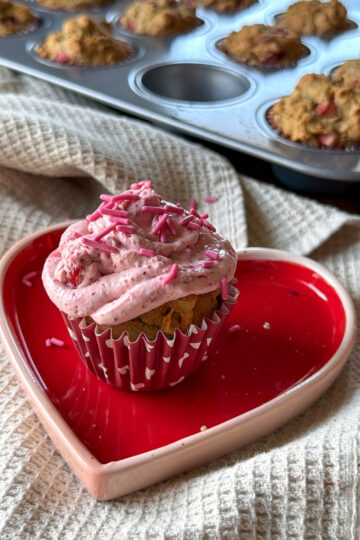
- hemp hearts or sprinkles: for fun "sprinkles" your toddler can decorate theirs with!
See recipe card for quantities.
How To Make Your Pumpkin Peanut Butter Cups
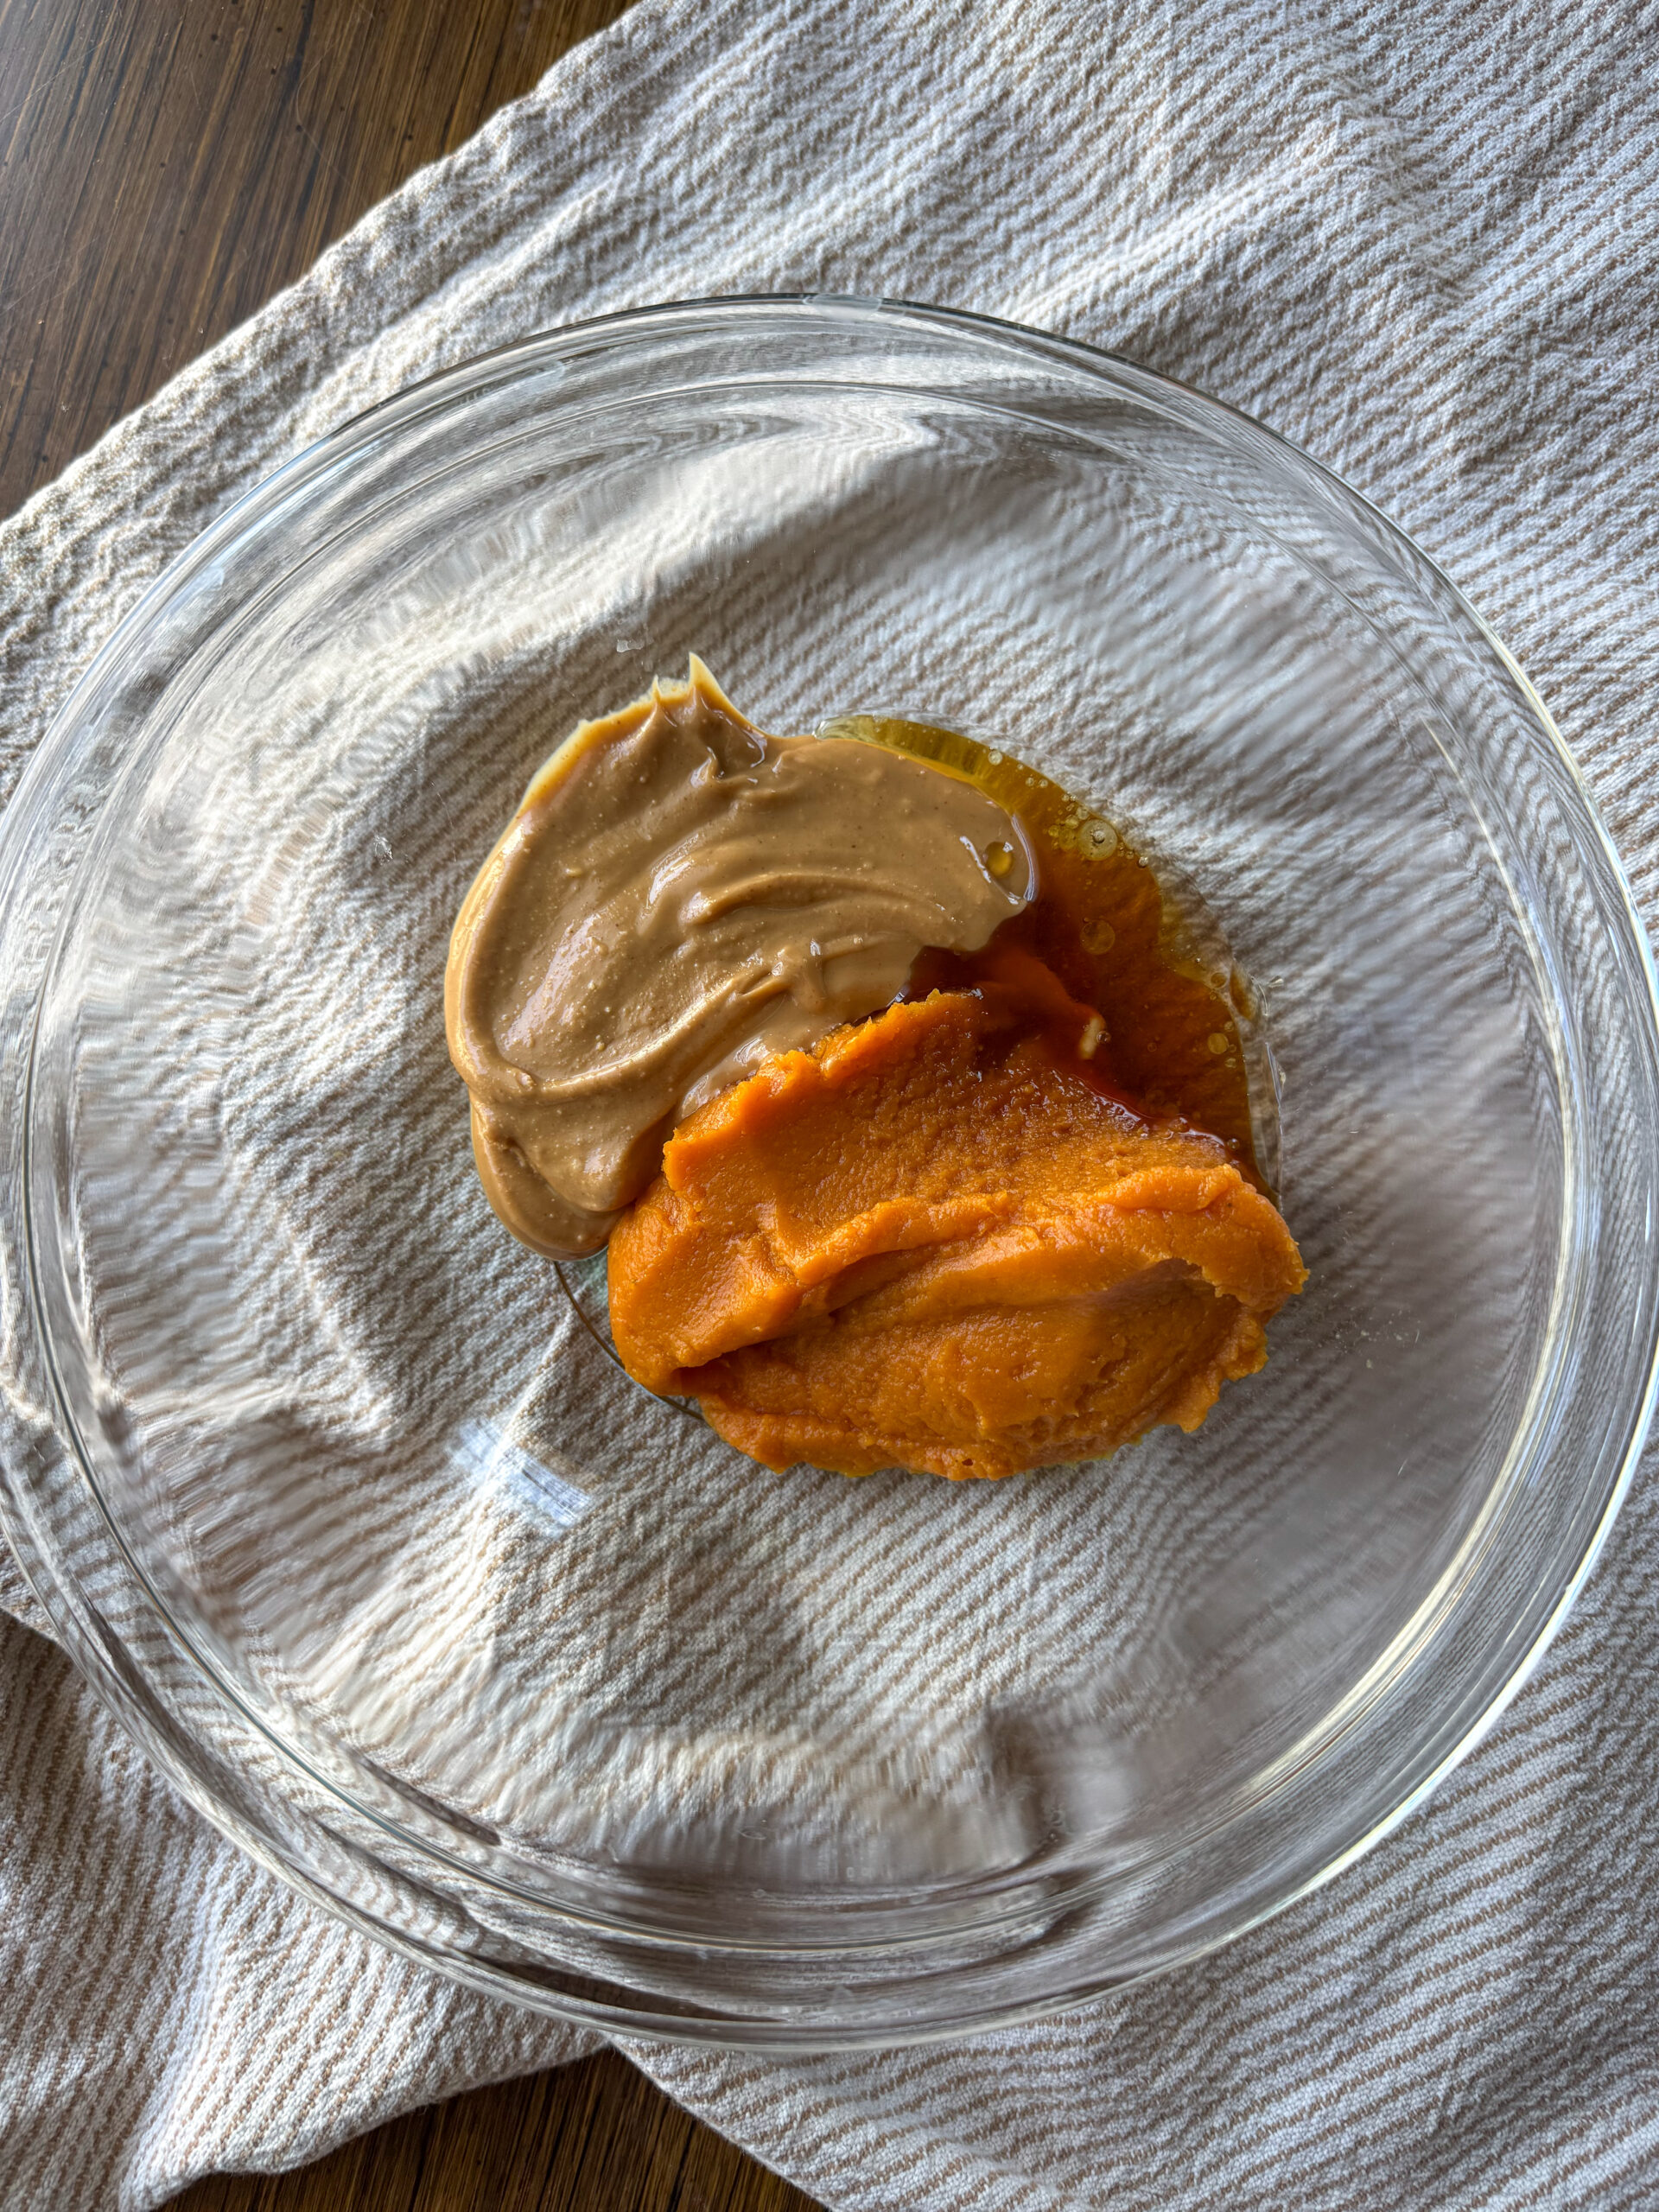
- Step 1: Line a 24-count mini muffin tin with paper liners or skip if using silicone muffin tin. This keeps the cups from sticking and makes cleanup a breeze. In a small bowl, stir together peanut butter, pumpkin purée, maple syrup, and sea salt until smooth and creamy.
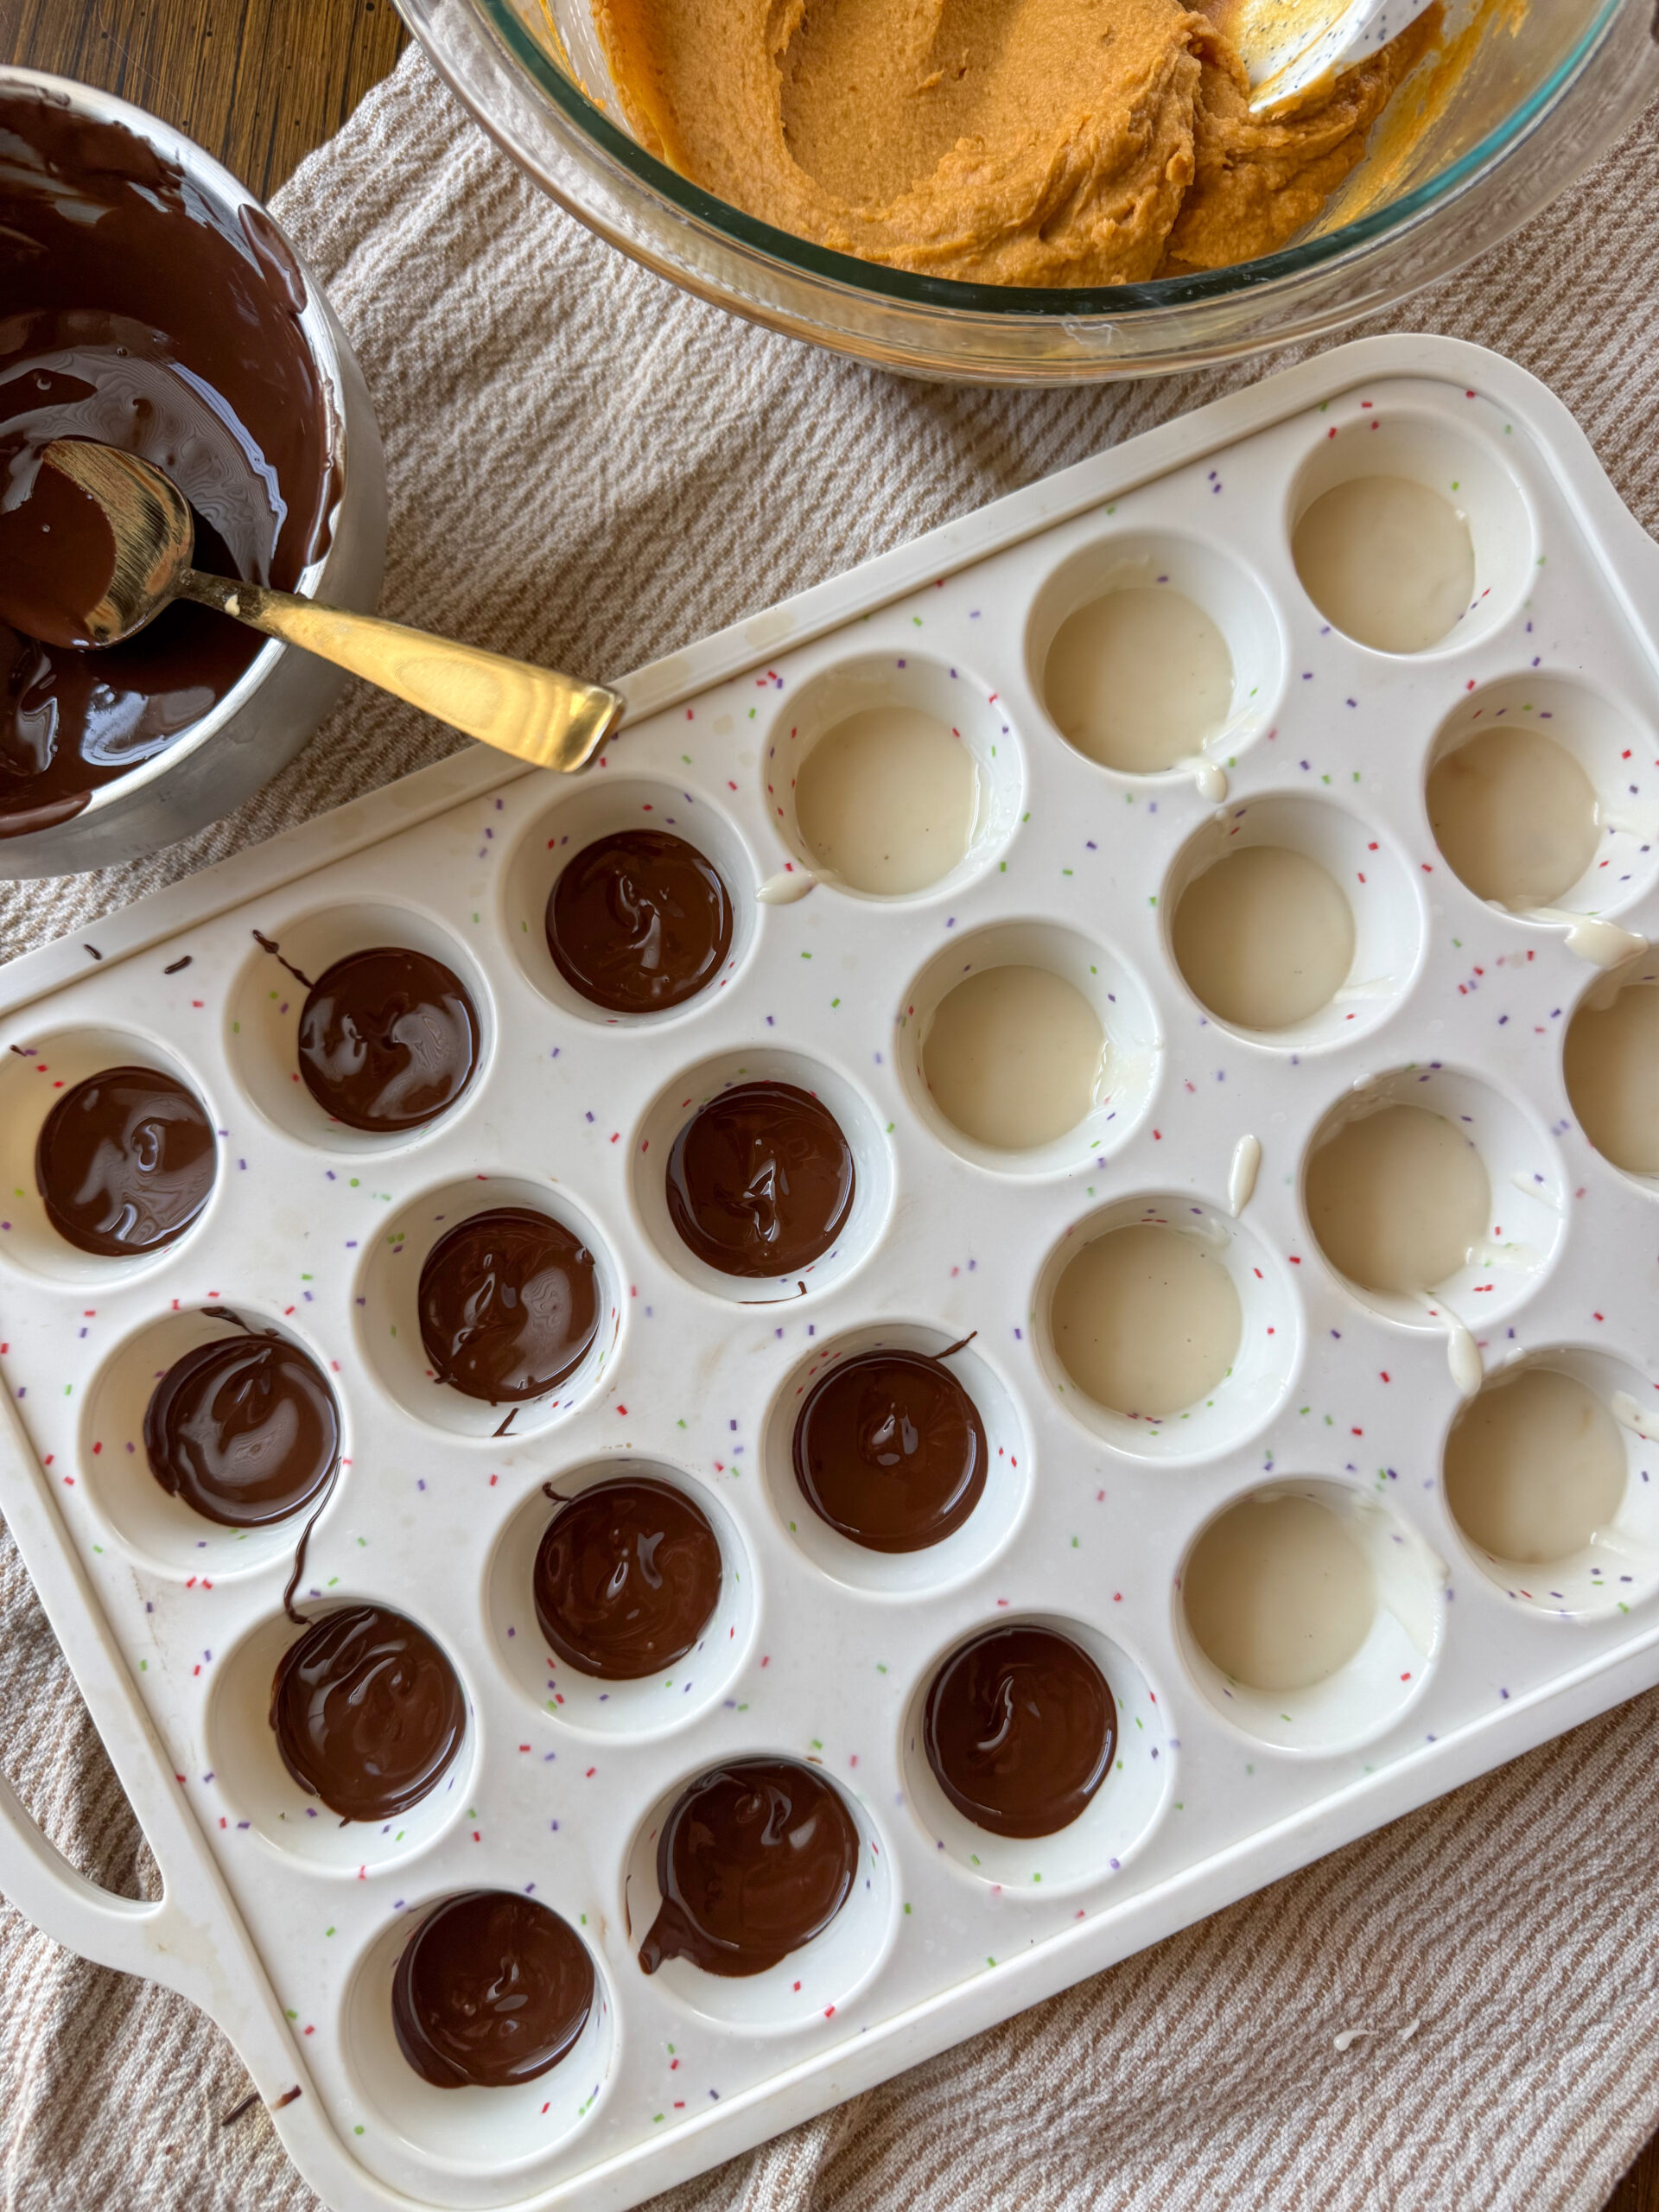
- Step 2: In a microwave-safe bowl, melt the chocolate chips and coconut oil or coconut butter in 25-30 second intervals, stirring until smooth and glossy. Spoon about ½-1 teaspoon into each liner, tilting to coat the bottom and a little up the sides.
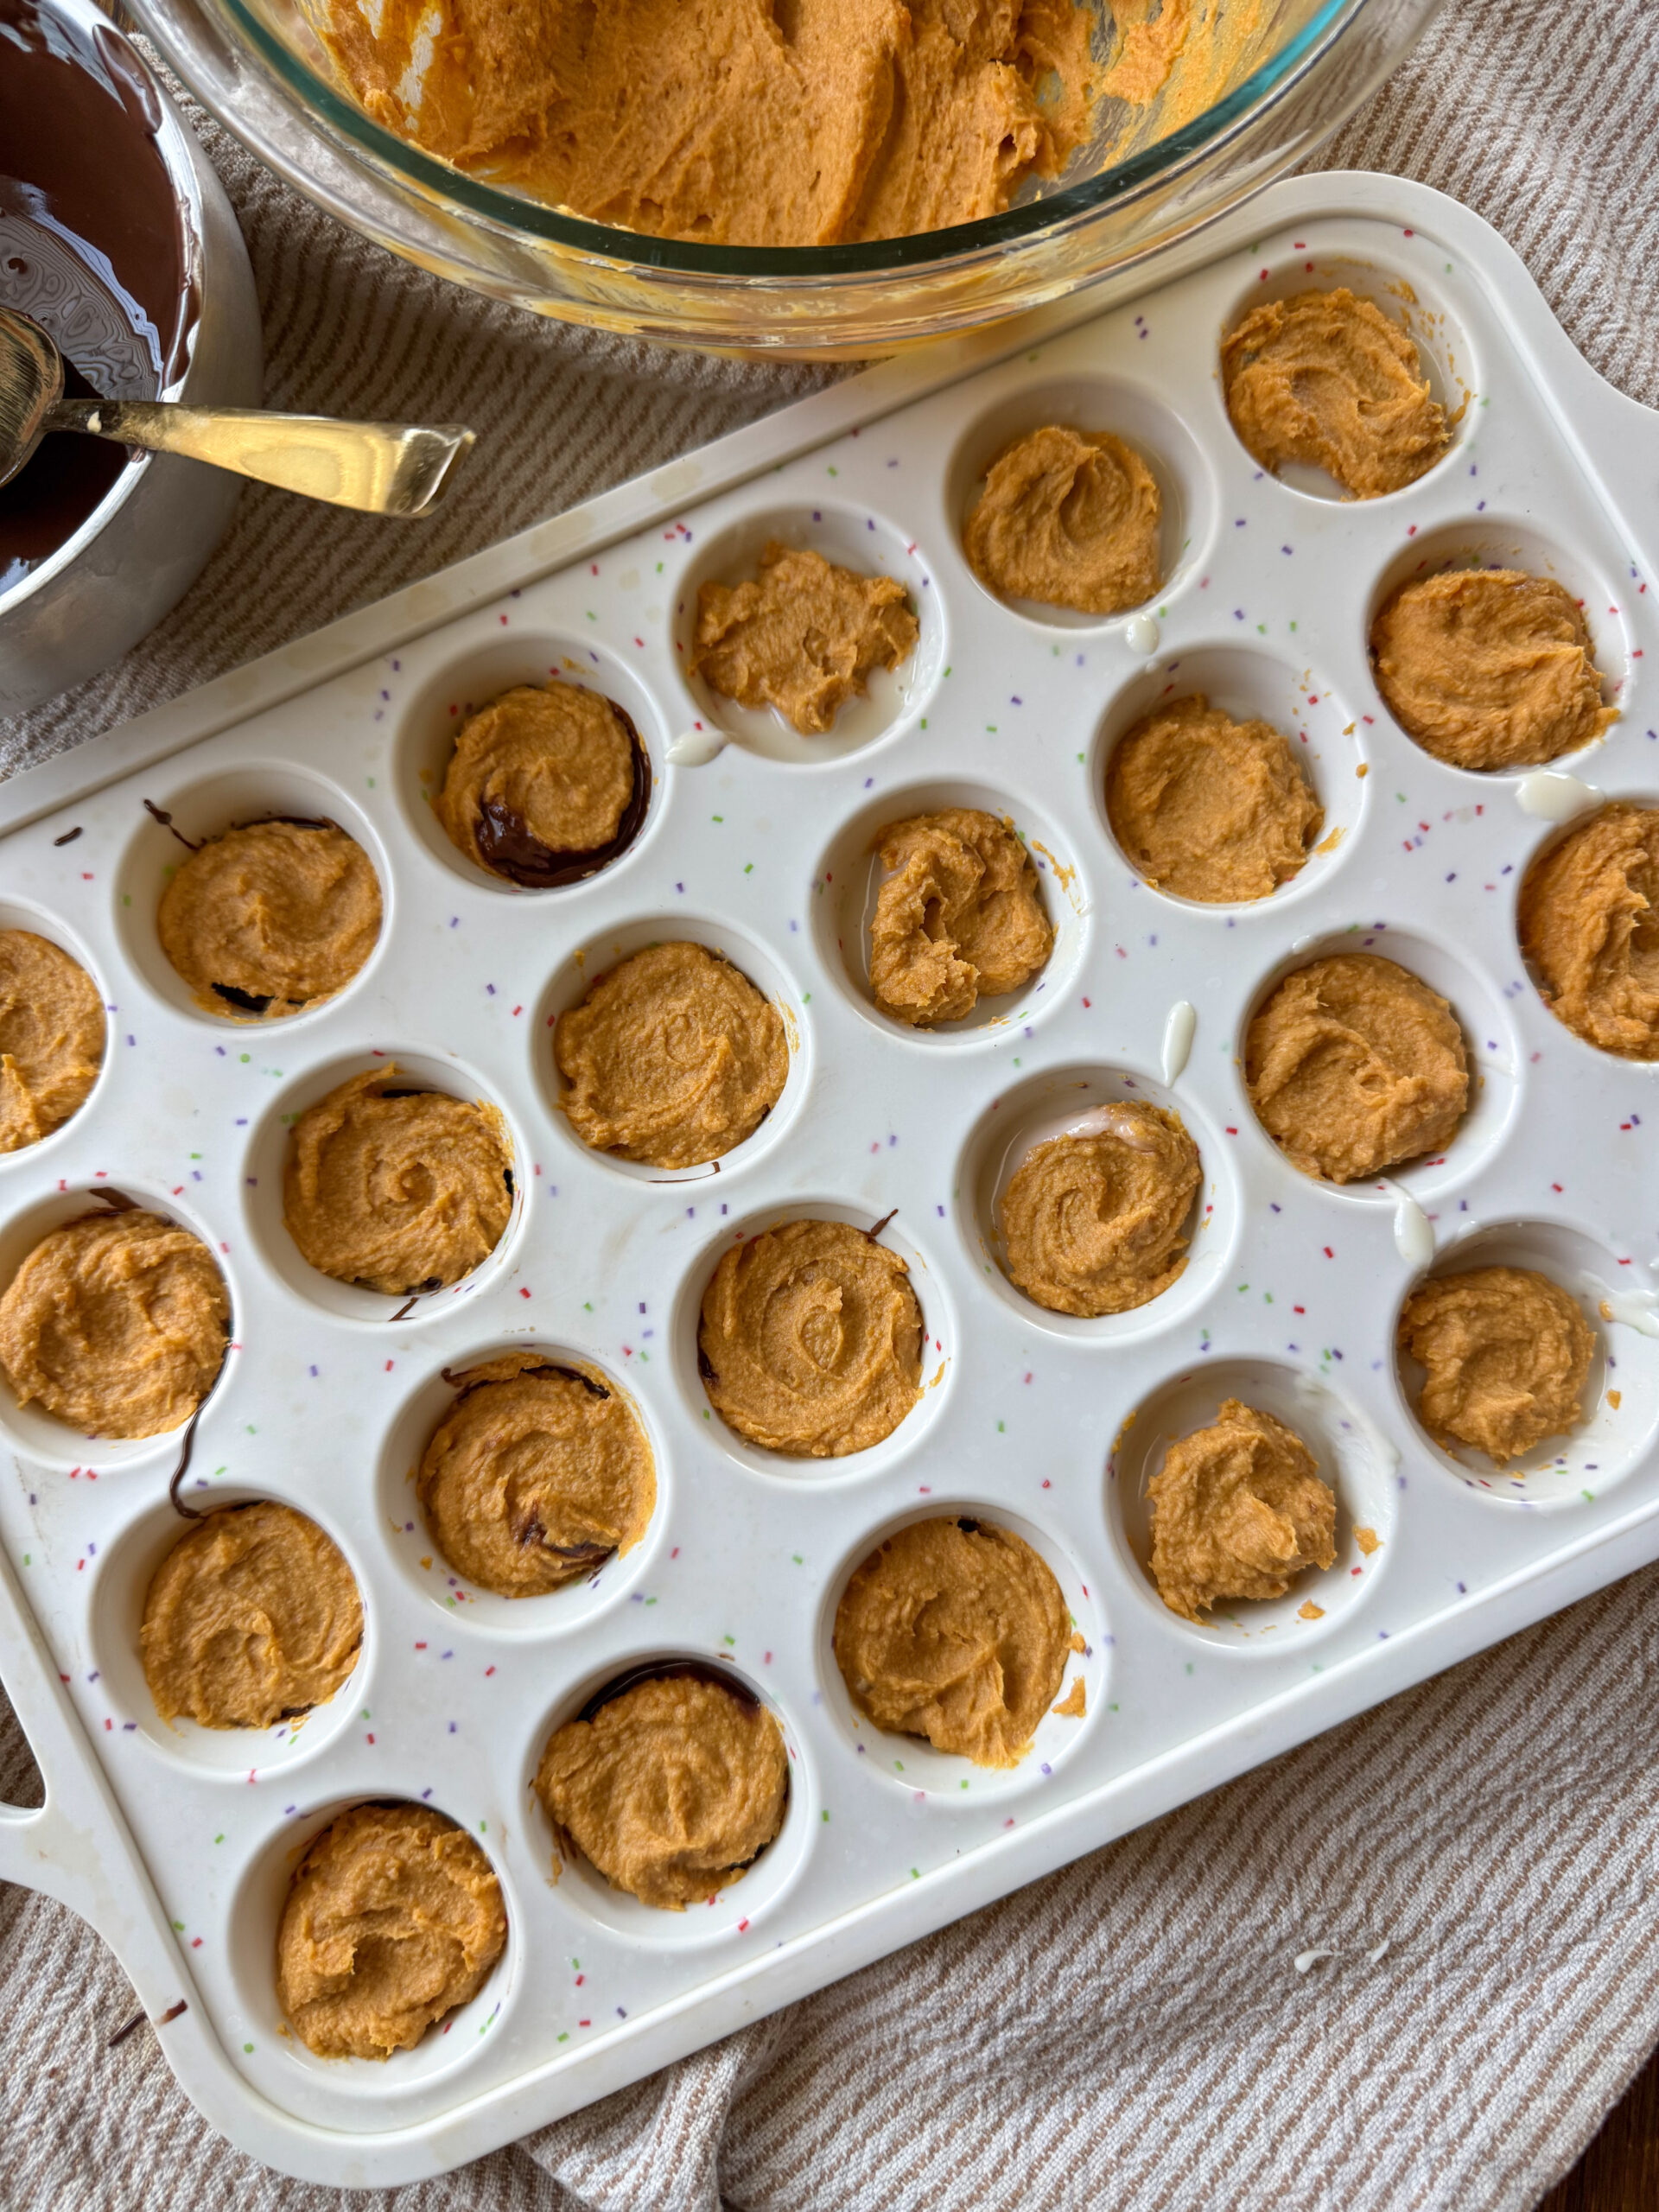
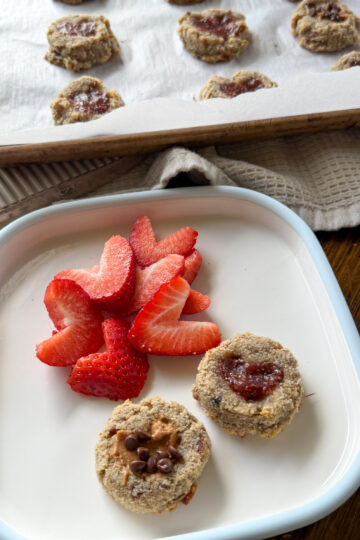
- Step 3: Add about 1 teaspoon of the pumpkin mixture into each cup and flatten slightly. Top with another layer of melted chocolate or coconut butter (about ½-1 teaspoon each), smooth the tops, and sprinkle with flaky salt, sprinkles, or hemp hearts if you’d like.
- Step 4: Chill in the fridge or freezer for 15-30 minutes until firm. Store in the freezer for a firmer bite or the fridge for the soft, fudgy bite!
Hint For Peanut Butter Cups
If you want to keep these lower in sugar for toddlers, use mini chocolate chips and just swirl the pumpkin filling into the melted chocolate instead of doing a full top layer. It gives all the pumpkin-peanut flavor with less sweetness and they still taste amazing!
Substitutions
Thankfully, these pumpkin peanut butter cups are already gluten-free, egg-free, and dairy-free (if using the Enjoy Life mini chocolate chips)!
- nut-free: use sunflower seed butter or tahini instead of peanut butter
- dairy-free: use dairy-free chocolate chips or opt for the coconut butter option!
- no added sugar: omit the maple syrup for a no added sugar option for littles under 2 yo
Variations
These pumpkin peanut butter cups can totally be customized based on season or flavor preference!
- pumpkin spice - add a few dashes of pumpkin spice to the filling
- white chocolate cups - use white chocolate instead of dark or milk chocolate
- almond or cashew butter cups- this will give a more subtle flavor!
Equipment
You’ll need a mini muffin pan, measuring utensils, a microwave-safe bowl, and a small spoon or silicone spatula for layering. That’s it, no baking required!
Storing Your Pumpkin Peanut Butter Cups
Store these pumpkin peanut butter cups in an airtight container in the fridge for up to 1 week or freeze for up to 2 months. They taste best slightly chilled so they stay firm, but you can set out a little before serving to littles to soften some.
Tiff's Dietitian Tip
These little cups are more than a treat, they’re packed with nutrients! The pumpkin adds vitamin A and fiber, the peanut butter gives healthy fats and protein. Plus, they're a great nutrient-packed snack for littles who have new teeth popping through.
FAQ
Yes! Just swap the peanut butter for sunflower seed butter or tahini to make them completely nut-free. The flavor changes slightly but still pairs perfectly with pumpkin and chocolate.
Yes! The pumpkin and peanut butter add natural sweetness on their own. If you’re making these for littles under 2, you can leave the maple syrup out completely and choose the coconut butter option vs chocolate.
Coconut oil helps the chocolate melt and set smoothly. If you prefer, you can use a little avocado oil or ghee (if you’re not dairy free), though the texture will be slightly firmer.
Related
Looking for other recipes like this? Try these:
Pairing
These are my favorite dishes to serve with these pumpkin peanut butter cups:

Pumpkin Peanut Butter Cups (low sugar, dairy free, 5 ingredients!)

Equipment
Ingredients
For the Chocolate Layer:
- 1½ cups dark chocolate chips dairy-free if needed or swap with coconut butter for a no added sugar version
- 2 teaspoon coconut oil
For the Pumpkin Filling:
- ½ cup all-natural peanut butter smooth + runny
- ½ cup pumpkin purée
- 1 tablespoon maple syrup omit for no added sugar
- ½ teaspoon flaky salt plus more for topping
Instructions
- Line a 24-count mini muffin tin with paper liners or skip if using silicone muffin pan.
- In a microwave-safe bowl, melt the chocolate chips and coconut oil in 25-30 second intervals, stirring until smooth. Spoon about ½-1 teaspoon into each liner, tilt to coat the bottom, and freeze for 5-10 minutes.
- In a bowl, mix together peanut butter, pumpkin purée, maple syrup, and salt until smooth and creamy. Add about 1 teaspoon of the mixture on top of the chocolate bases and flatten slightly.
- Cover each cup with another ½-1 teaspoon of melted chocolate, smooth the tops, and sprinkle with flaky salt if desired. Chill in the fridge or freezer for 15-30 minutes, until set.


Leave a Reply