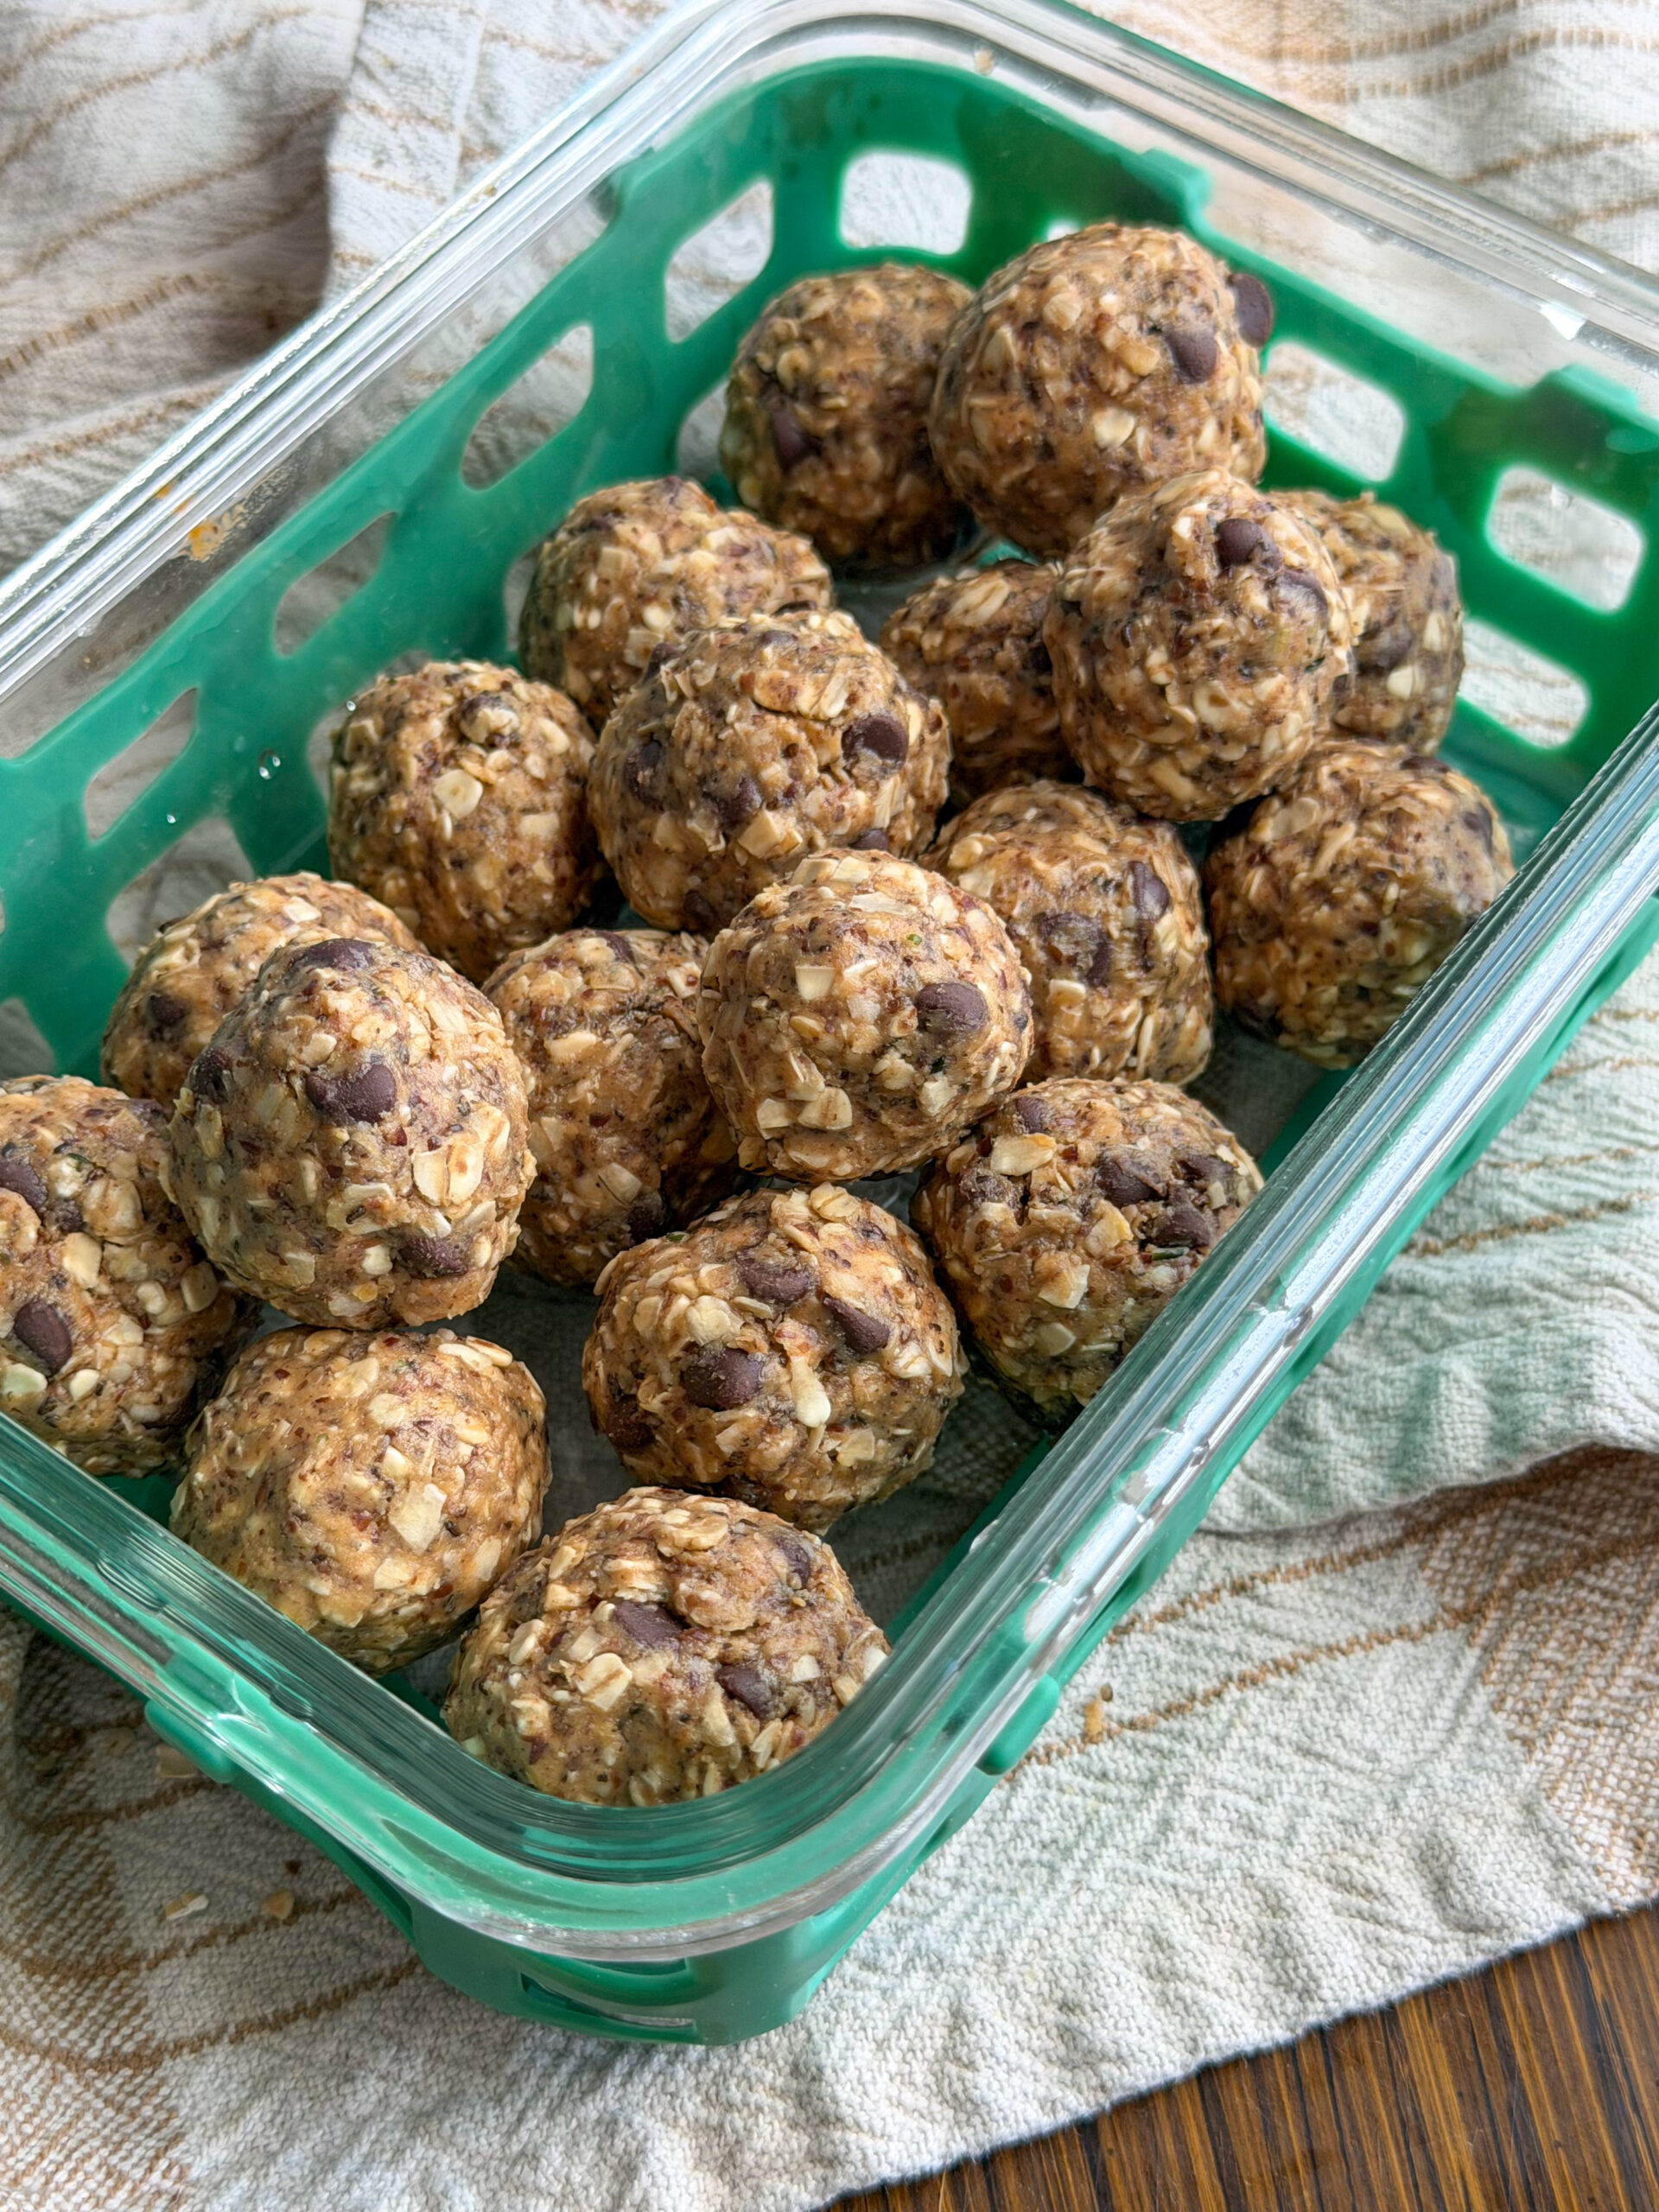
These no bake oatmeal balls are one of those snacks I make on repeat when I need something fast, filling, and actually worth it nutritionally. Because let’s be real, toddlers ask for snacks every 37 minutes and I want something that will keep them full longer than a handful of crackers.
I love these because they’re soft, easy to chew, naturally sweet, and made with ingredients that support steady energy, fiber intake, and healthy fats for brain development. Plus they feel like a fun food thanks to the chocolate chips (or raisins), which usually means less pushback and more eating.
They take about 5 minutes to mix together, they’re freezer-friendly, and they’re perfect for lunchboxes, stroller snacks, or those “I’m hungry right now” moments.
Why You'll Love These No Bake Oatmeal Balls
These no bake oatmeal balls are small but nutrient-dense:
- fiber from oats and flax to support digestion
- healthy fats for brain development
- plant protein for steady energy
- iron + magnesium from oats and flax
- omega-3 fats (ALA) from ground flaxseed
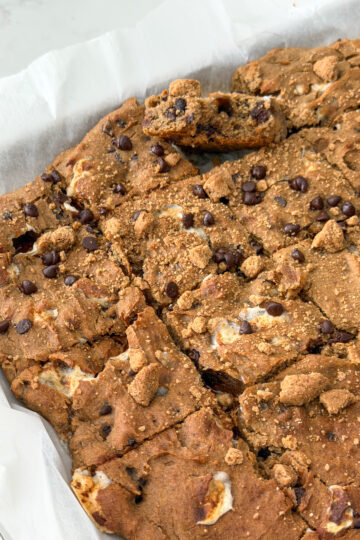
This combination helps prevent the constant “can I have a snack” cycle. You'd also love my trail mix energy bites or 3 ingredient oatmeal cookies for another easy, but filling snack!
Jump to:
- Why You'll Love These No Bake Oatmeal Balls
- Ingredients You'll Need
- How to Make Your No Bake Oatmeal Balls
- Hint for the Best Oatmeal Balls
- Substitutions
- Variations
- Equipment
- Storing Your No Bake Oatmeal Balls
- Tiff's Dietitian Tip
- FAQ
- Related
- Pairing
- No Bake Oatmeal Balls with Peanut Butter (4 simple ingredients!)
Ingredients You'll Need
Here's all you'll need to make these no bake oatmeal balls
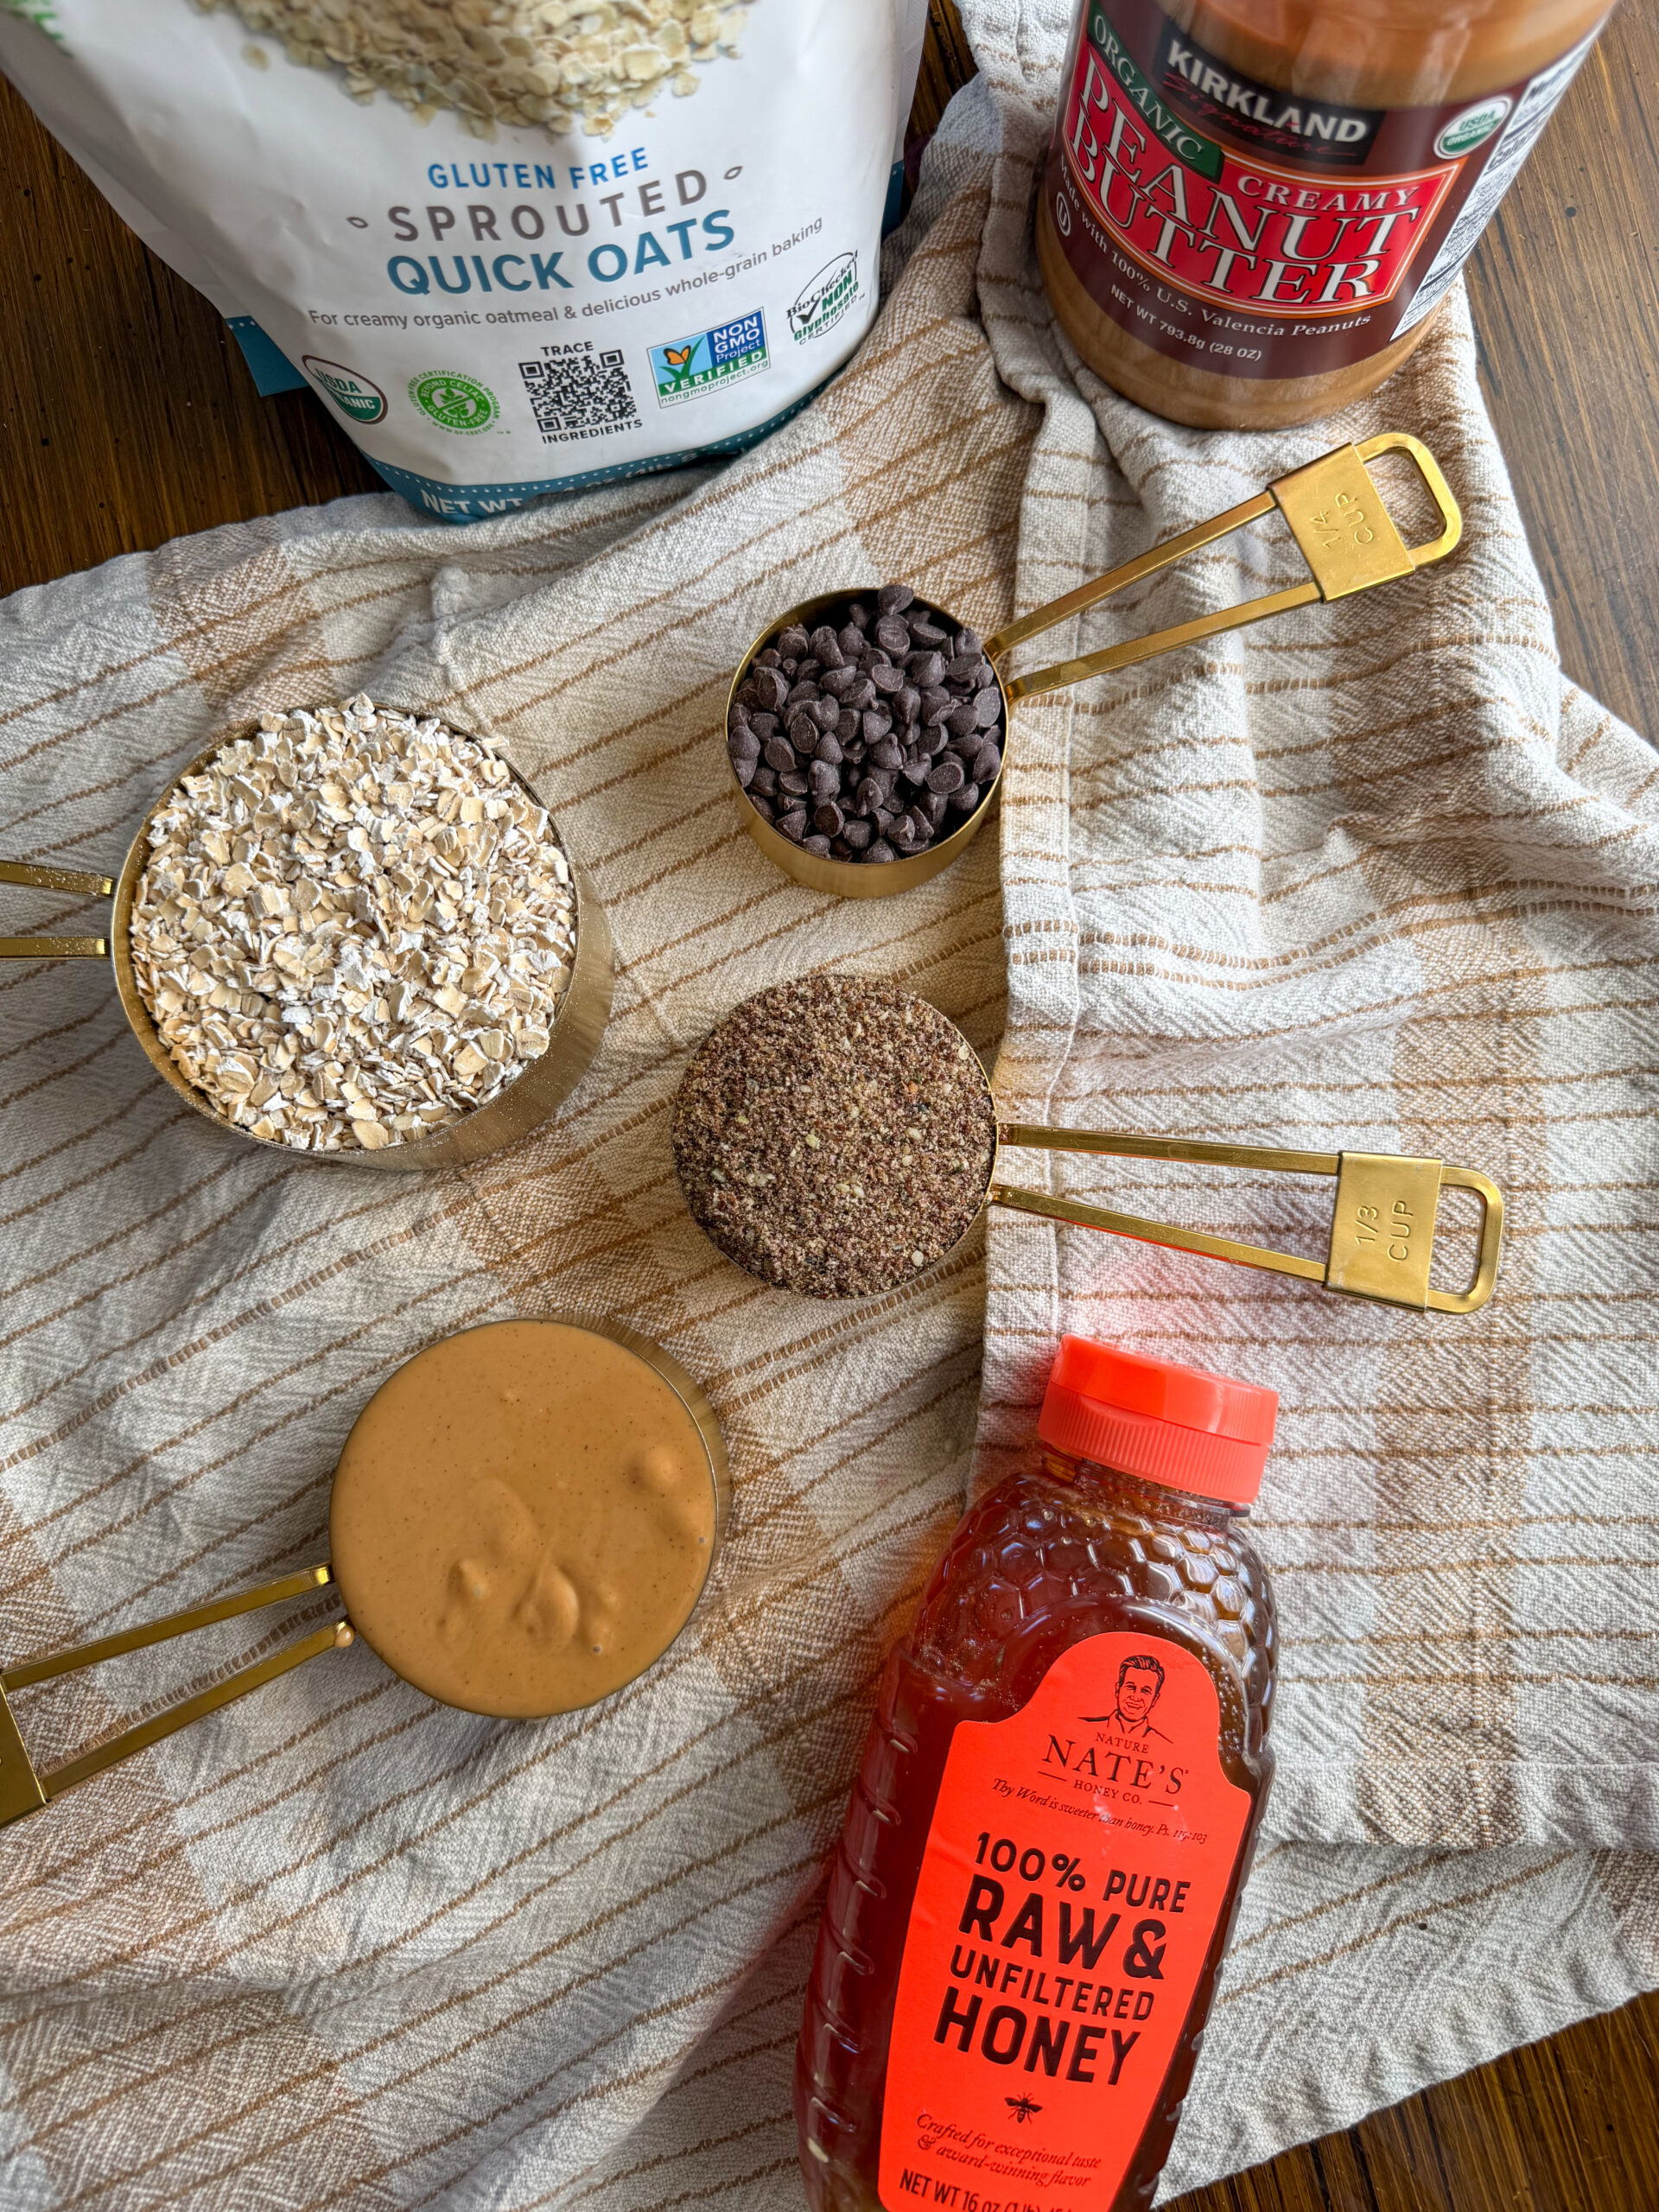
- quick oats – provide fiber, iron, and complex carbohydrates for steady toddler energy and fullness (the quick oats texture also makes these softer and easier to chew)
- ground flaxseed – adds fiber, healthy fats (including omega-3 ALA), and supports digestion. It also helps bind the mixture together
- peanut butter – contributes protein and healthy fats for brain development and longer satiety, while giving the oatmeal balls their creamy texture
- honey (optional) – naturally sweetens and helps hold the mixture together (use only for toddlers over 12 months, ideally 2+ yo)
- mini chocolate chips (optional) – adds a familiar, fun flavor that can increase acceptance while making these feel like a treat
See recipe card for quantities.
How to Make Your No Bake Oatmeal Balls
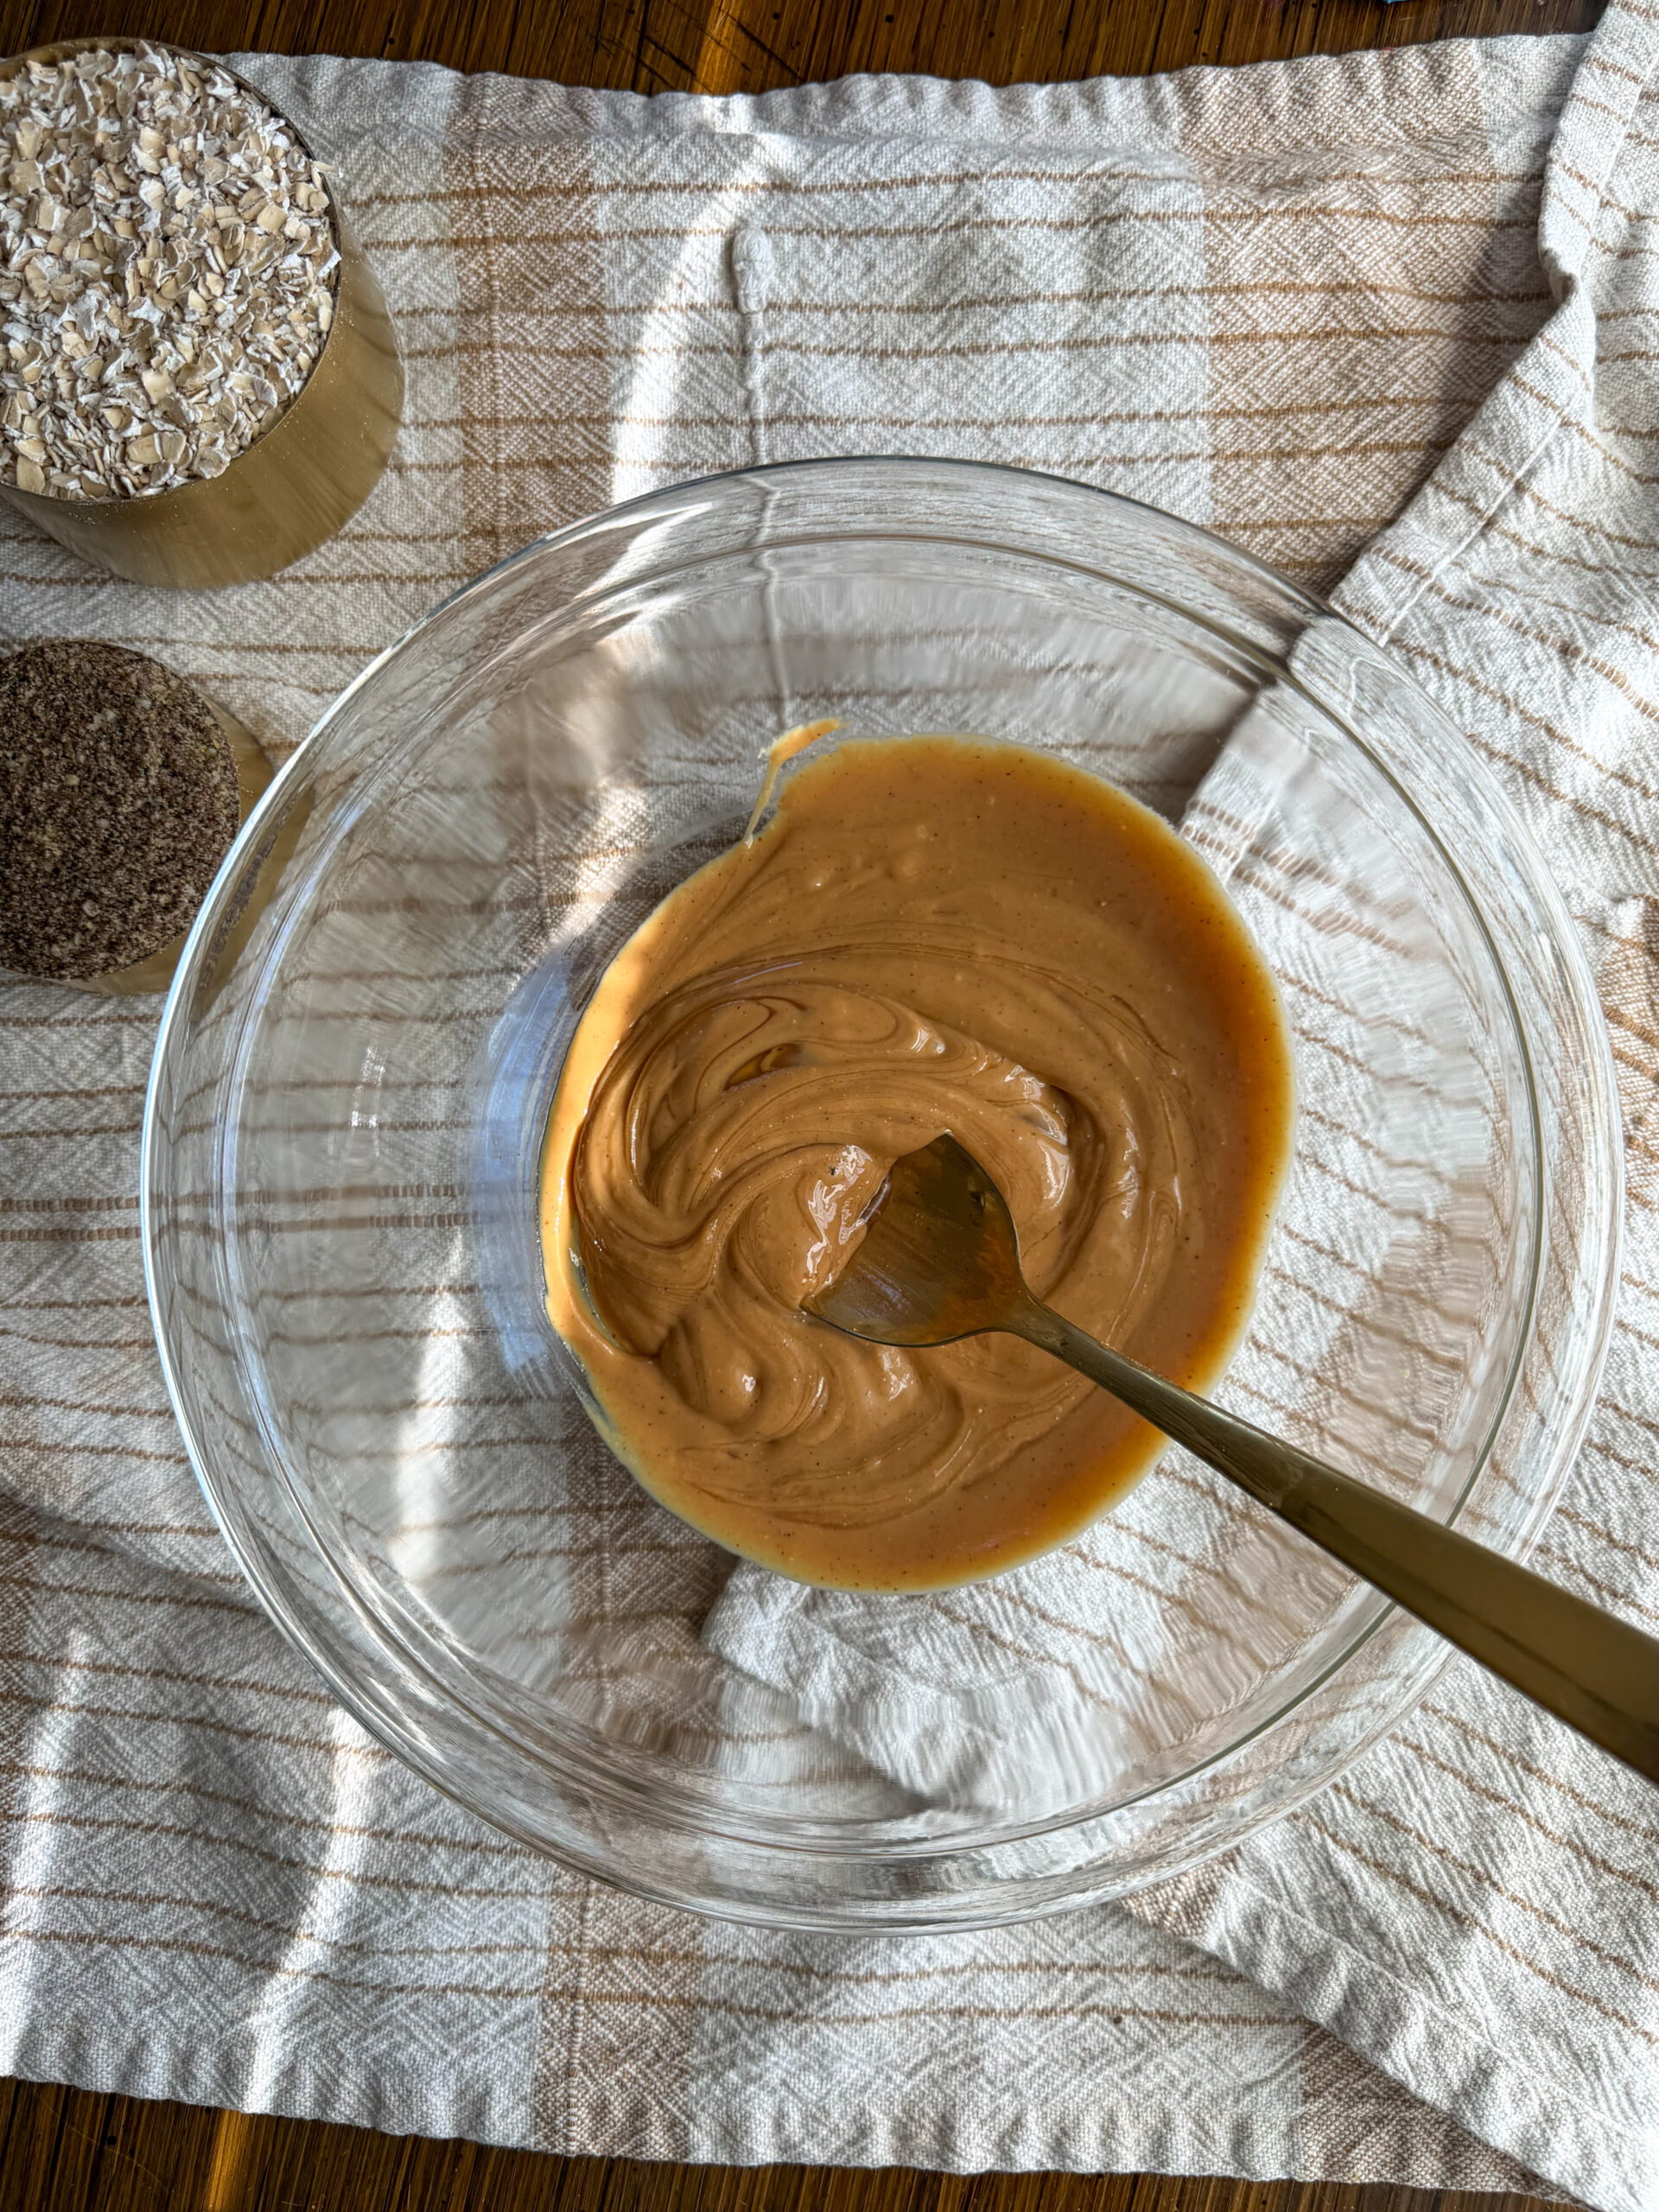
- Step 1: In a medium bowl, stir together the peanut butter and honey.
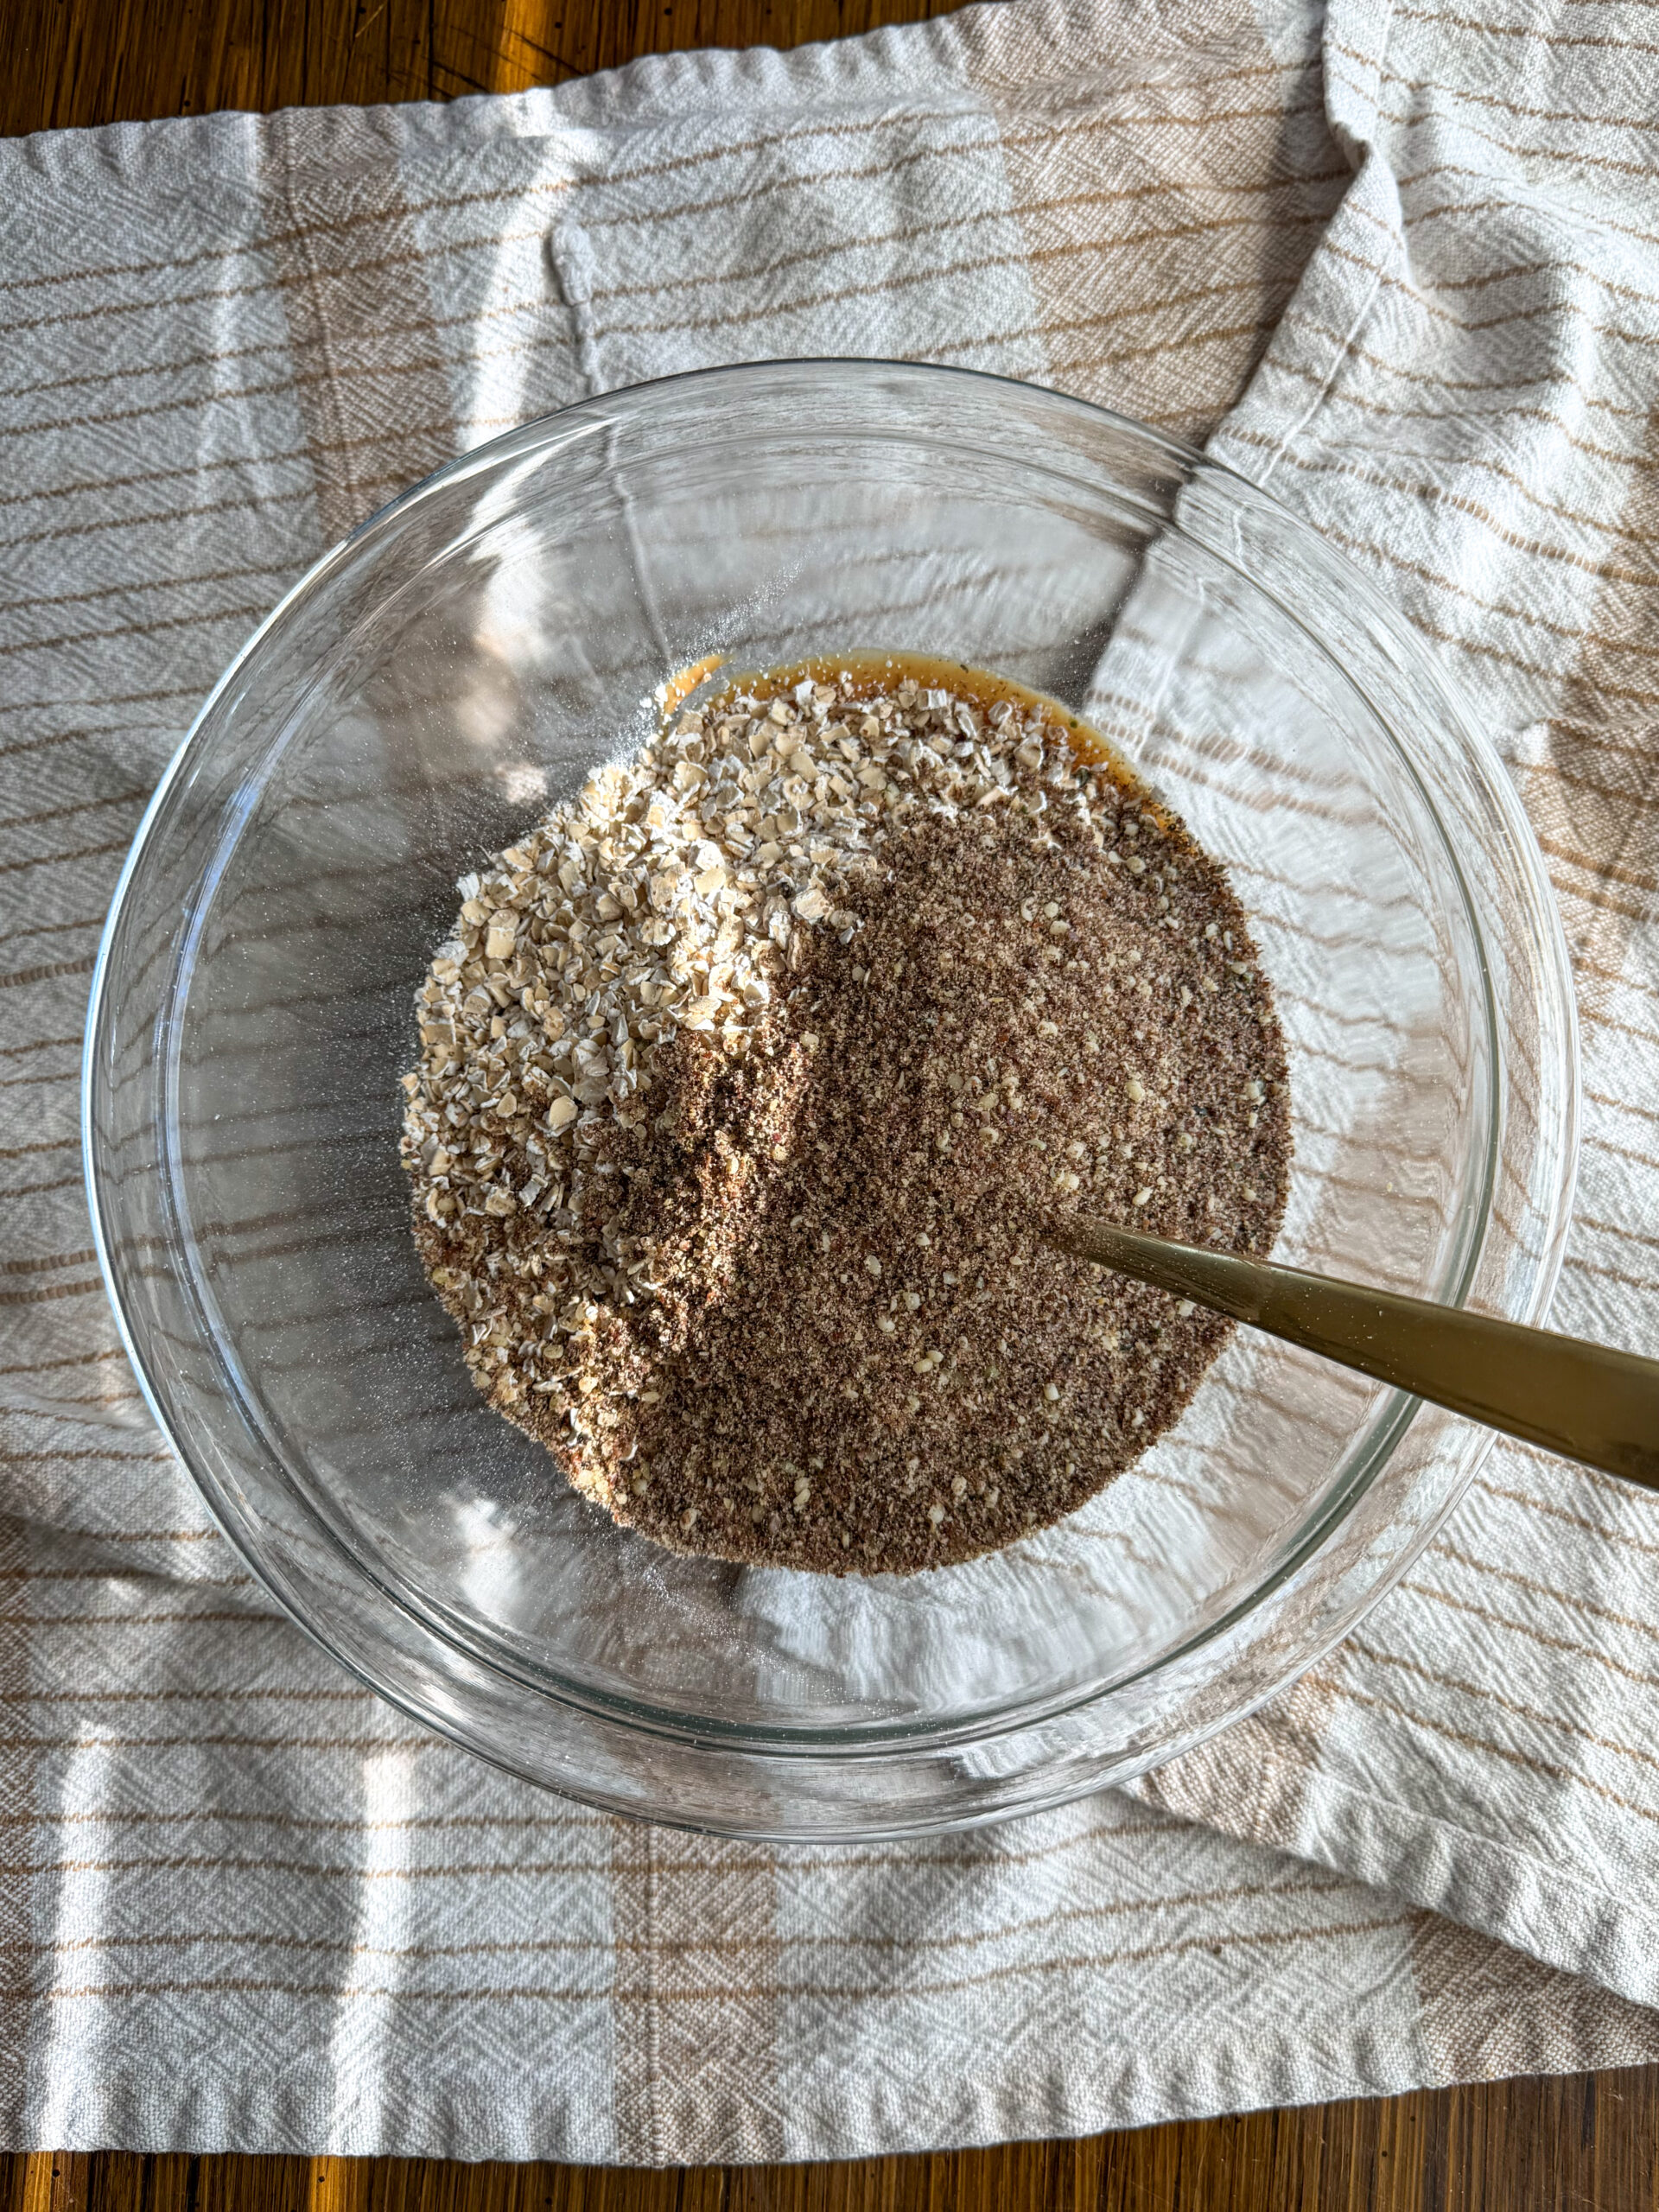
- Step 2: Add the quick oats and ground flaxseed, then mix until a thick dough forms.
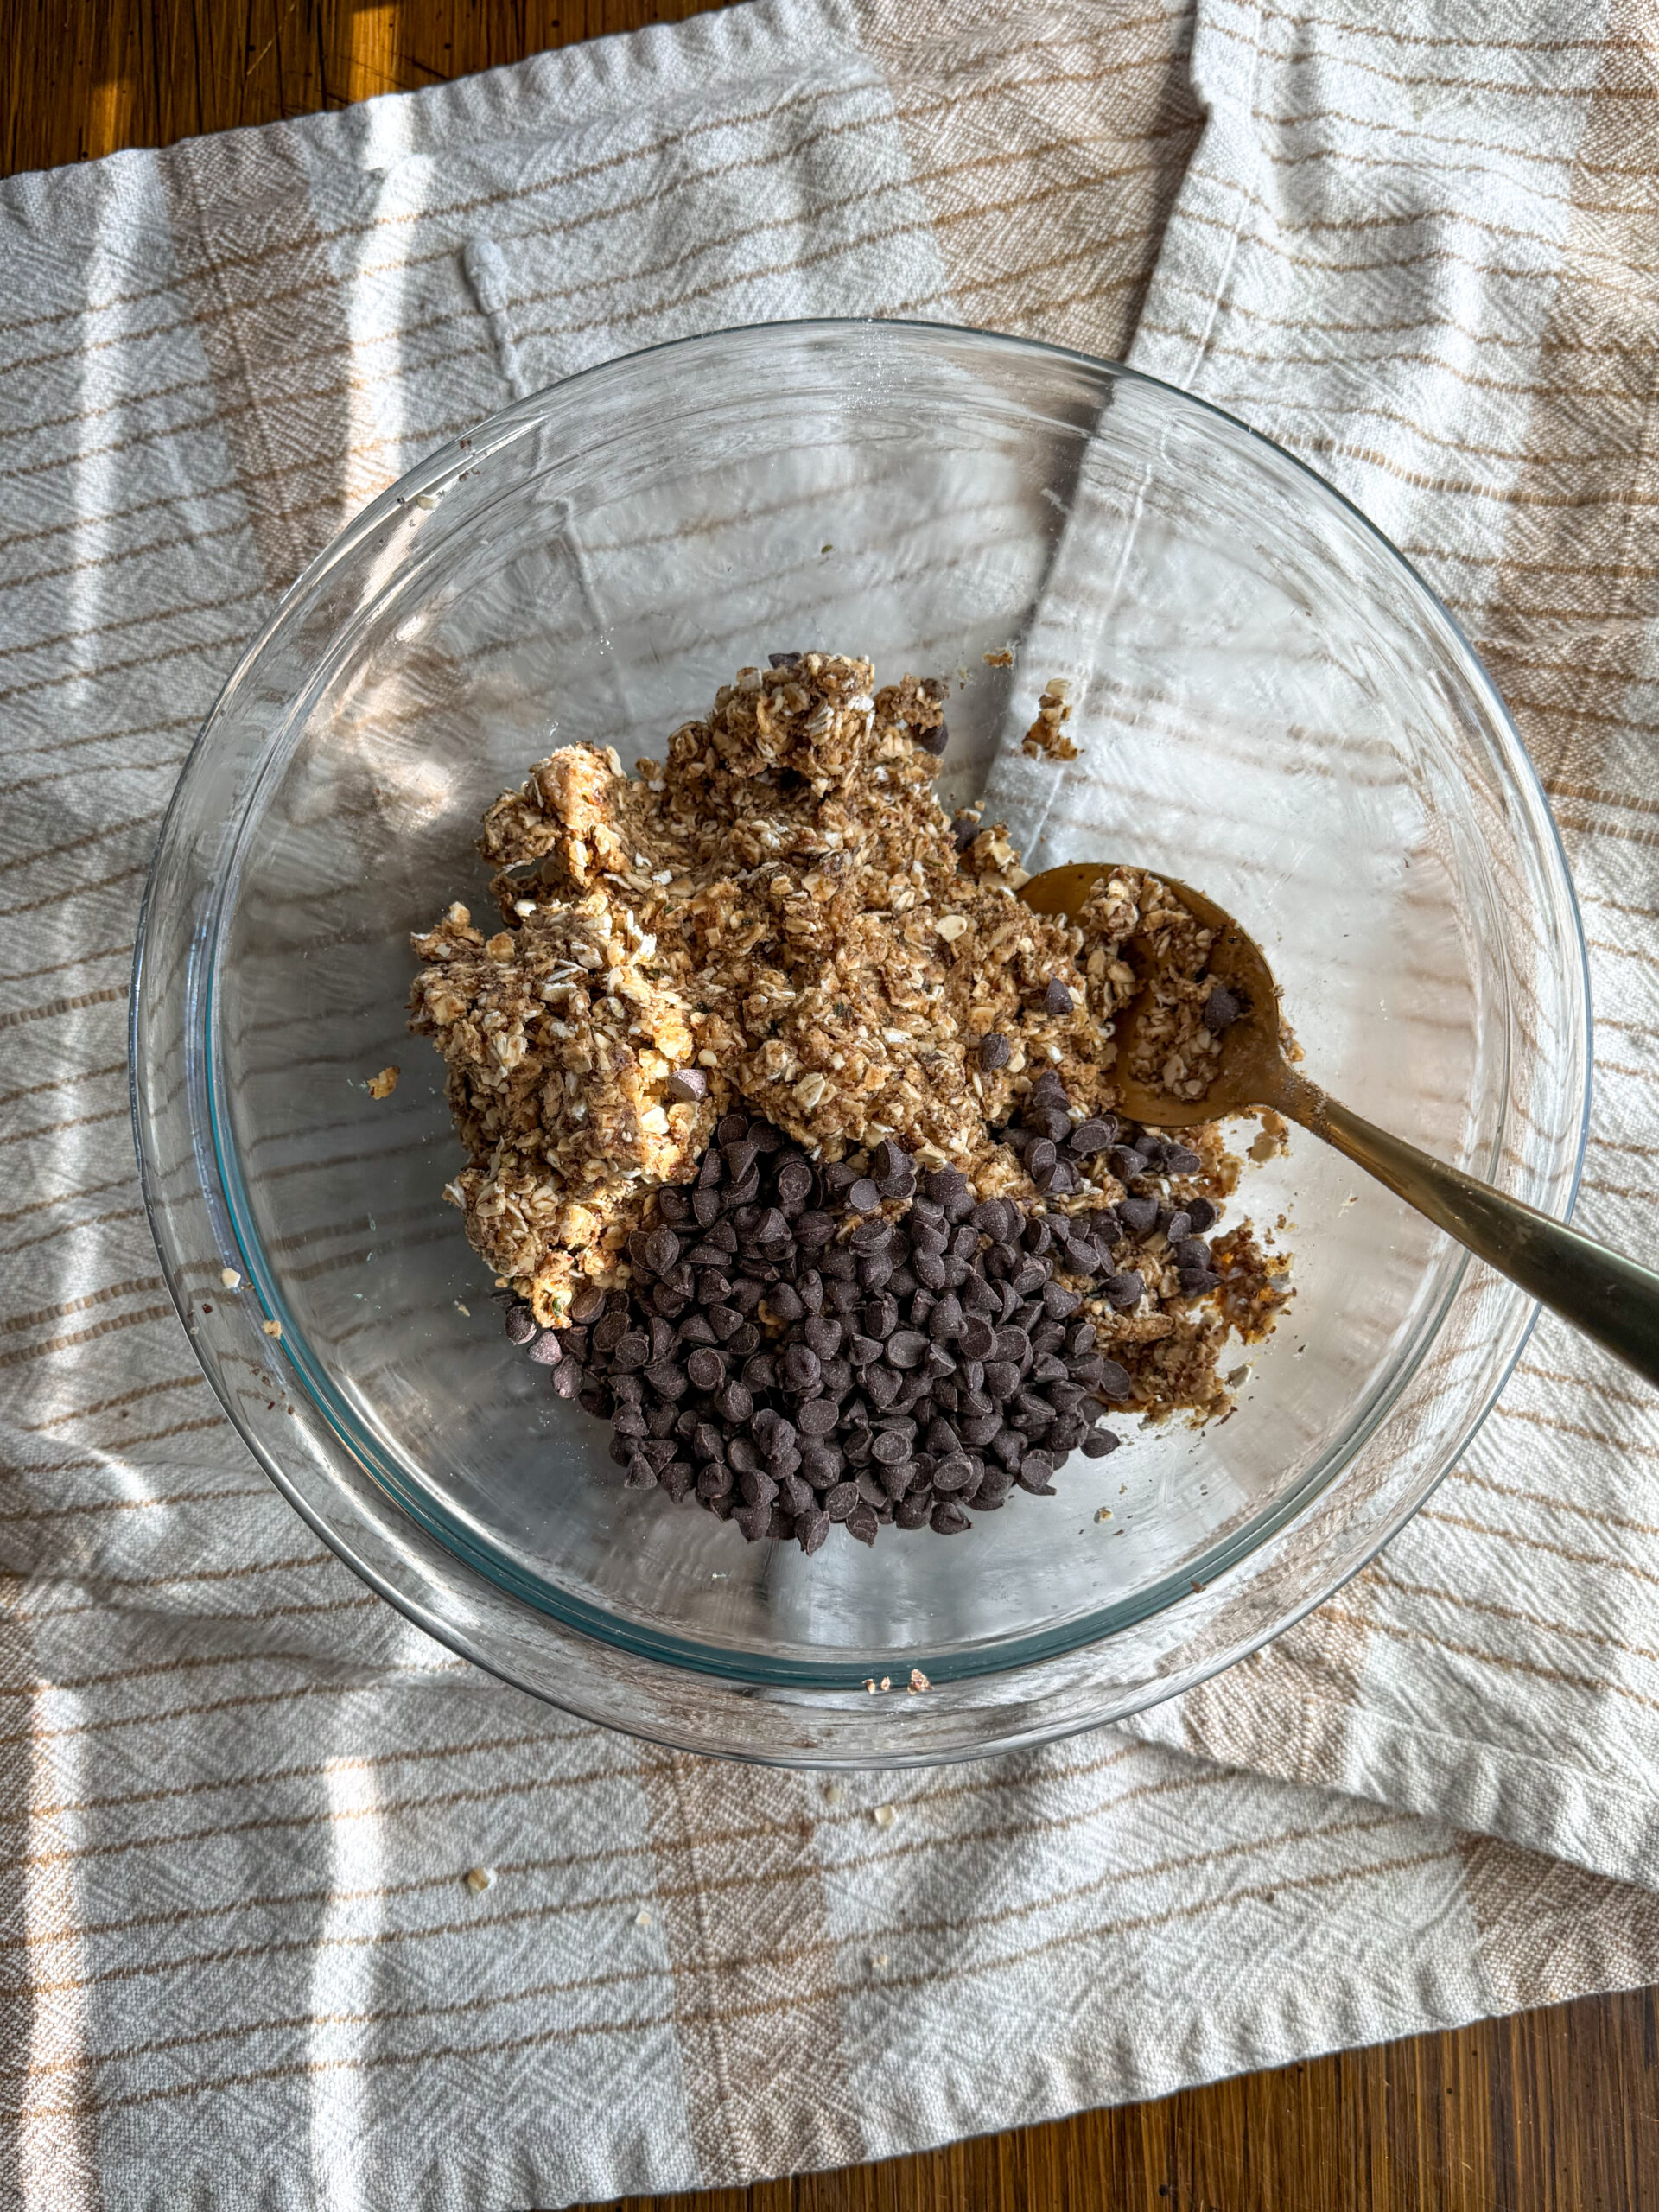
- Step 3: Fold in the mini chocolate chips (or desired mix-in).
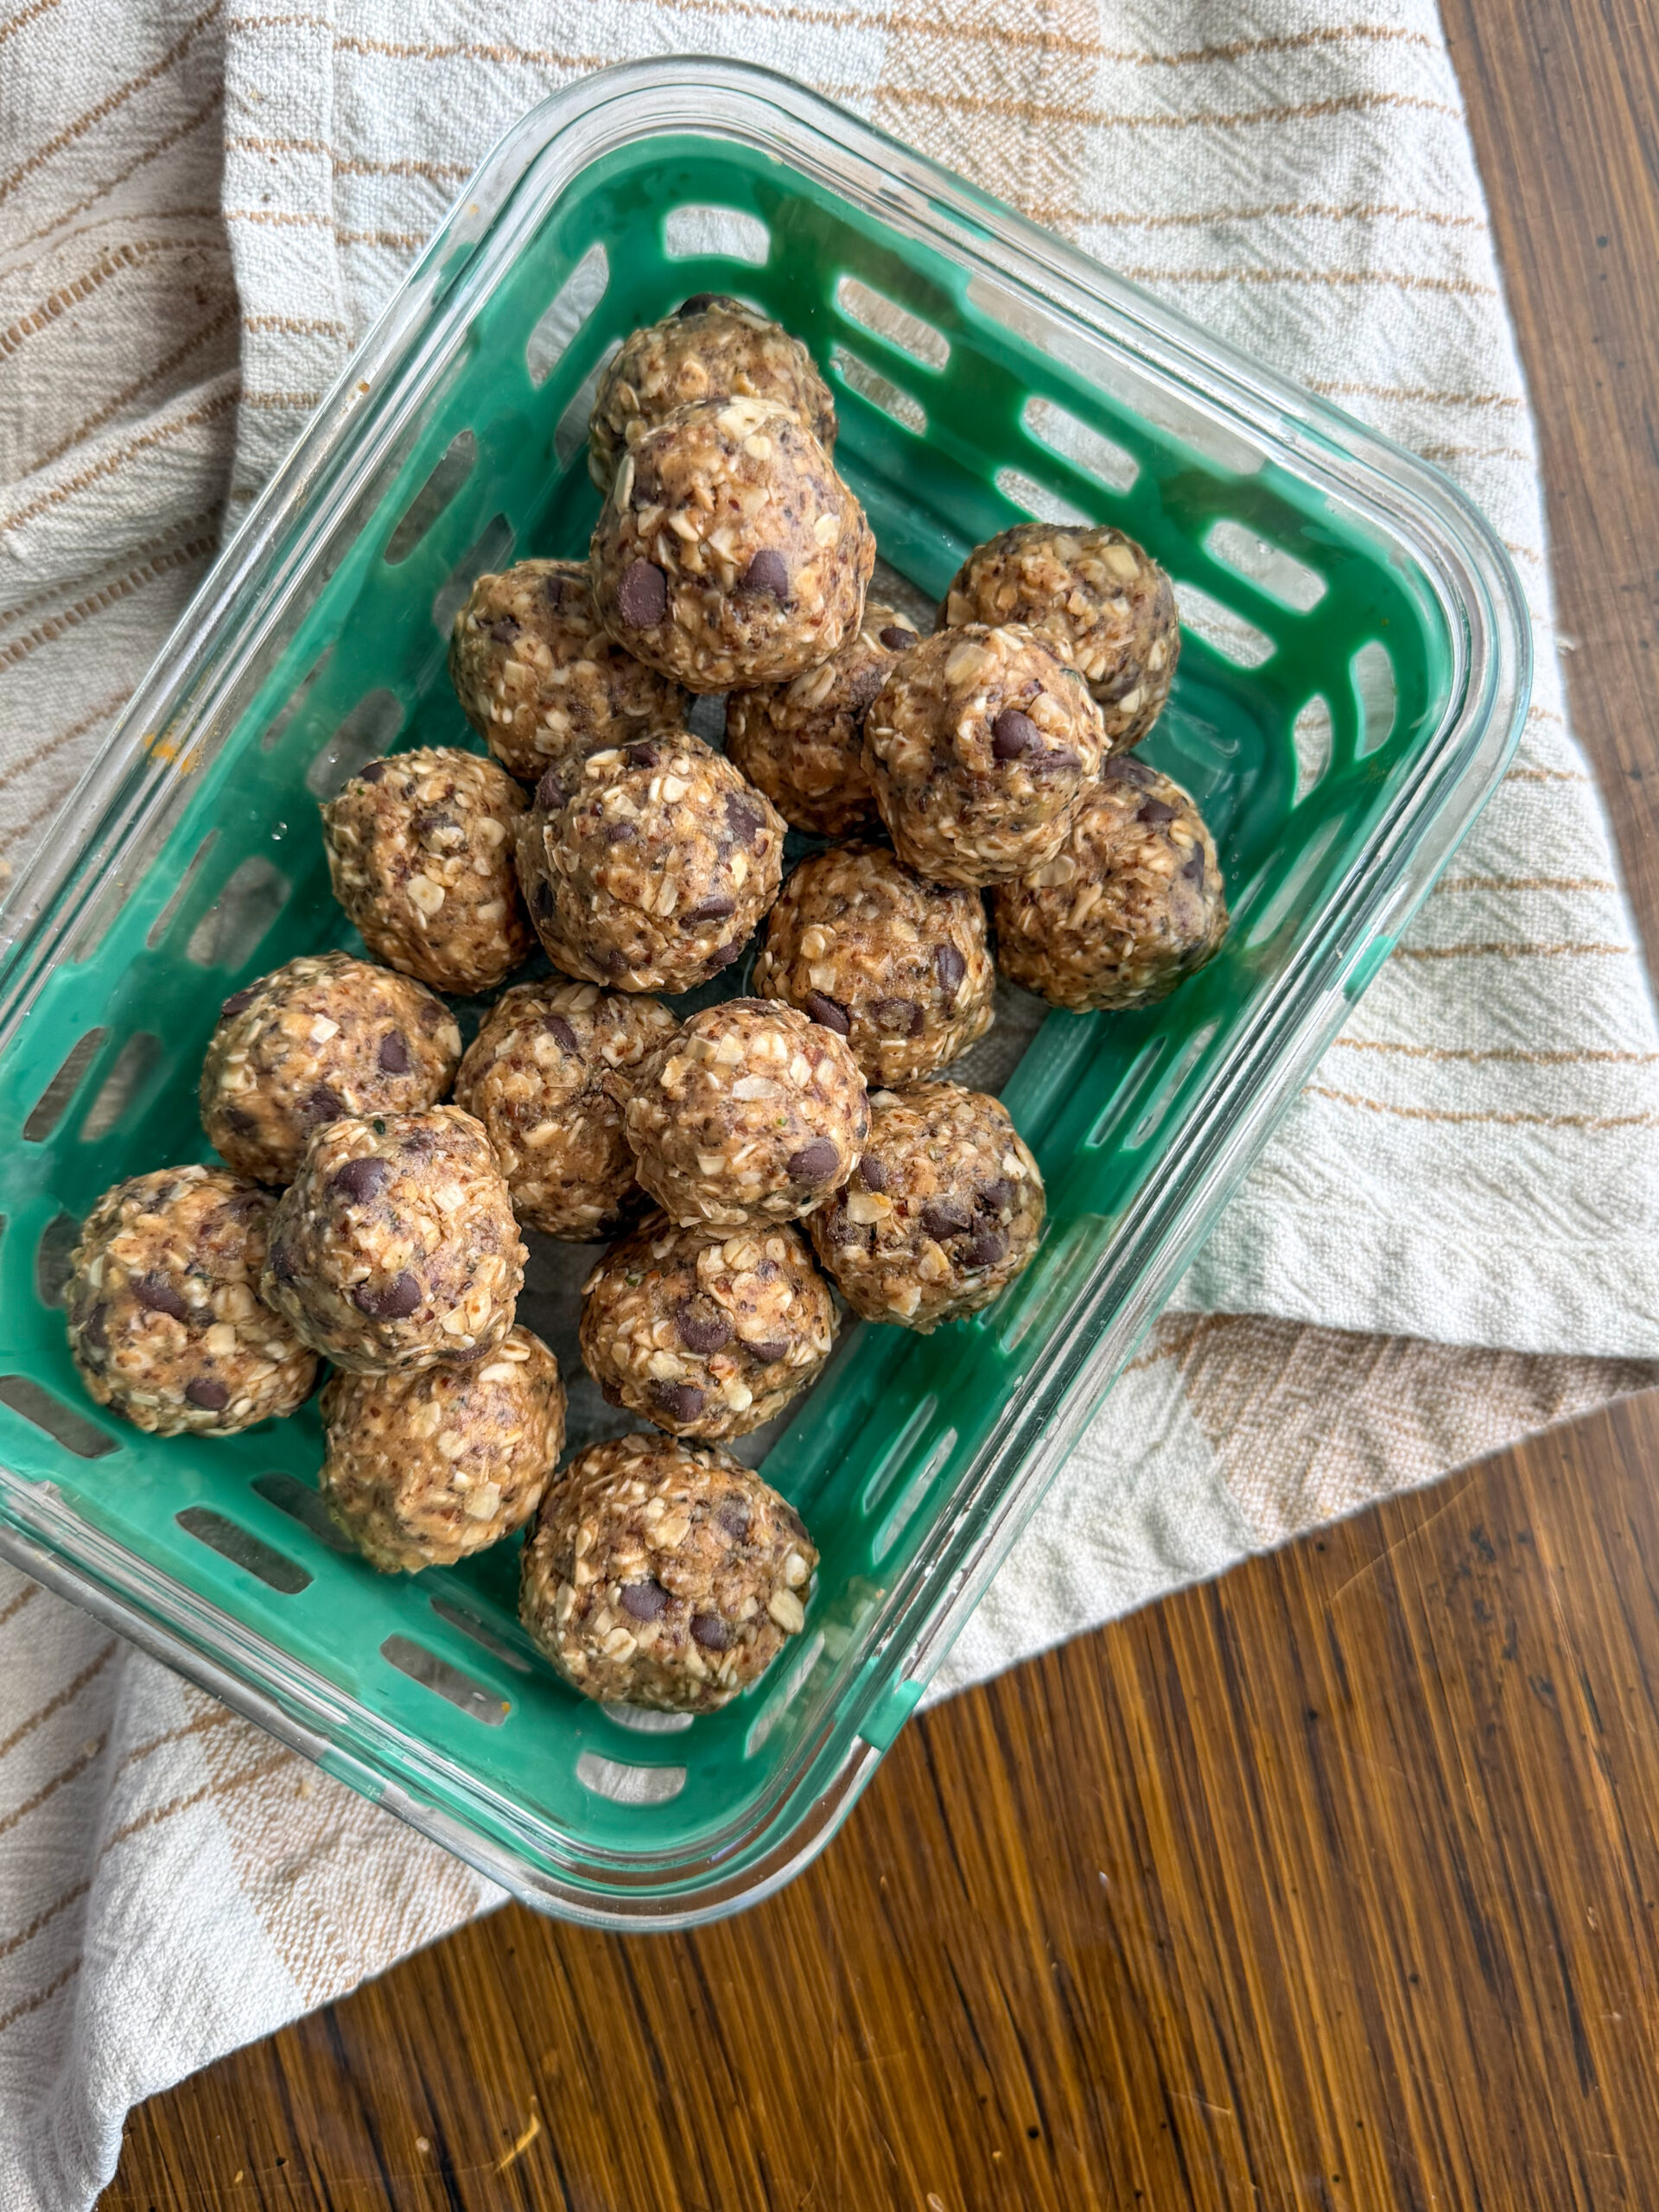
- Step 4: Roll into tablespoon-sized balls and chill in the refrigerator for 20-30 minutes before serving.
Hint for the Best Oatmeal Balls
If the mixture feels too sticky to roll, place the bowl in the refrigerator for 10-15 minutes before shaping. This makes the oatmeal balls much easier to handle. Using slightly damp hands or a small cookie scoop can also help create smooth, evenly sized balls without the mixture sticking to your fingers.
Substitutions
These no bake oatmeal balls are already gluten-free if using gluten-free oats! Adjust ingredients however you need.
- nut-free - sub peanut butter with sunflower seed butter or pumpkin seed butter
- no added sugar - omit the sweetener and use blended dates or extra nut/seed butter
Variations
Feel free to change the flavor in these no bake oatmeal balls with whatever mix-ins you have on hand!
- raisin oatmeal balls: swap chocolate chips for ¼ cup raisins
- strawberry: use 2-3 tablespoons finely crushed freeze-dried strawberries instead of chocolate chips
- chocolate peanut butter: add 1 tablespoon cocoa powder (add 1-2 teaspoons extra peanut butter or honey if mixture gets dry)
- nut-free: use sunflower seed butter and raisins or freeze-dried fruit
- cinnamon spice: add ½ teaspoon cinnamon for a warm flavor
- chia boost: add 1 tablespoon chia seeds for extra fiber and healthy fats
Equipment
To make these no bake oatmeal balls, you only need a few basic kitchen tools: a medium mixing bowl for combining the ingredients, a spoon or silicone spatula for stirring, measuring cups for accuracy, and a small cookie scoop or tablespoon to portion evenly sized balls. An airtight container is helpful for storing them in the refrigerator or freezer.
Storing Your No Bake Oatmeal Balls
Store these no bake oatmeal balls in an airtight container in the refrigerator for up to 1 week. Chilling helps them hold their shape and keeps the texture soft but not sticky, which is especially helpful for toddlers.
For longer storage, place the oatmeal balls in a freezer-safe container or bag and freeze for up to 3 months. Let them thaw at room temperature for a few minutes before serving, or serve slightly chilled for an easy grab-and-go snack.
If packing in a lunchbox, include an ice pack to keep them firm and fresh.
Tiff's Dietitian Tip
Because these include chocolate chips, toddlers often see them as a "fun food" which can increase willingness to eat. Keeping foods neutral helps kids learn that all foods can fit, and these no bake oatmeal balls provide fiber, fats, and energy in a way that feels fun!
FAQ
Yes, use sunflower seed butter or pumpkin seed butter.
Chilling helps them hold shape but isn’t required.
You can totally sub out with raisins for a no added sugar option!
Related
Looking for other recipes like this? Try these:
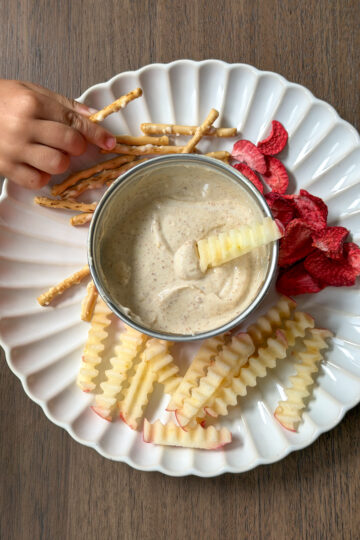
Pairing
These are my favorite dishes to serve with these no bake oatmeal balls:
No Bake Oatmeal Balls with Peanut Butter (4 simple ingredients!)
Equipment
Ingredients
- 1 cup quick oats
- ⅓ cup ground flaxseed
- ½ cup peanut butter or any nut/seed butter!
- ¼ cup honey or sub with maple syrup, blended dates, date syrup, or extra nut/seed butter
- ¼ cup mini chocolate chips or sub with raisins
Instructions
- In a medium bowl, stir together the quick oats and ground flaxseed.
- Add the peanut butter and honey and mix until a thick dough forms.
- Fold in the mini chocolate chips.
- Roll into tablespoon-sized balls and chill in the refrigerator for 20-30 minutes before serving.
Patty says
These are a wonderful dessert too & yes toddlers love them, but so do moms & grandmas! Thank you!
toddlerdietitiantiff says
Woohoo!! So glad y'all loved them!